 listicle
Cast Iron Dutch Oven Campfire Recipes
Table of Contents
- Essential Dutch Oven Camping Gear and Setup
- How to Control Campfire Heat for Dutch Oven Cooking
- Dutch Oven Campfire Temperature Chart and Heat Guidelines
- One-Pot Dinner Ideas for Cast Iron Dutch Oven
- Dutch Oven Breakfast Recipes and Camp Kitchen Favorites
- How to Reseason Cast Iron Pans Step by Step
- Cleaning and Seasoning Cast Iron After Campfire Use
- Frequently Asked Questions
Last Updated: September 20, 2026
Cast iron Dutch oven campfire recipes deliver authentic, slow-cooked meals with even heat that prevents scorching. Whether braising, simmering stew, or baking bread under coals, the heavy cast walls hold heat so evenly that food tastes like you spent all day on it, even with minimal prep time.
The real challenge is controlling campfire heat and managing charcoal placement. This guide covers gear setup, heat control, a temperature conversion chart, and seasoning techniques.
Essential Dutch Oven Camping Gear and Setup
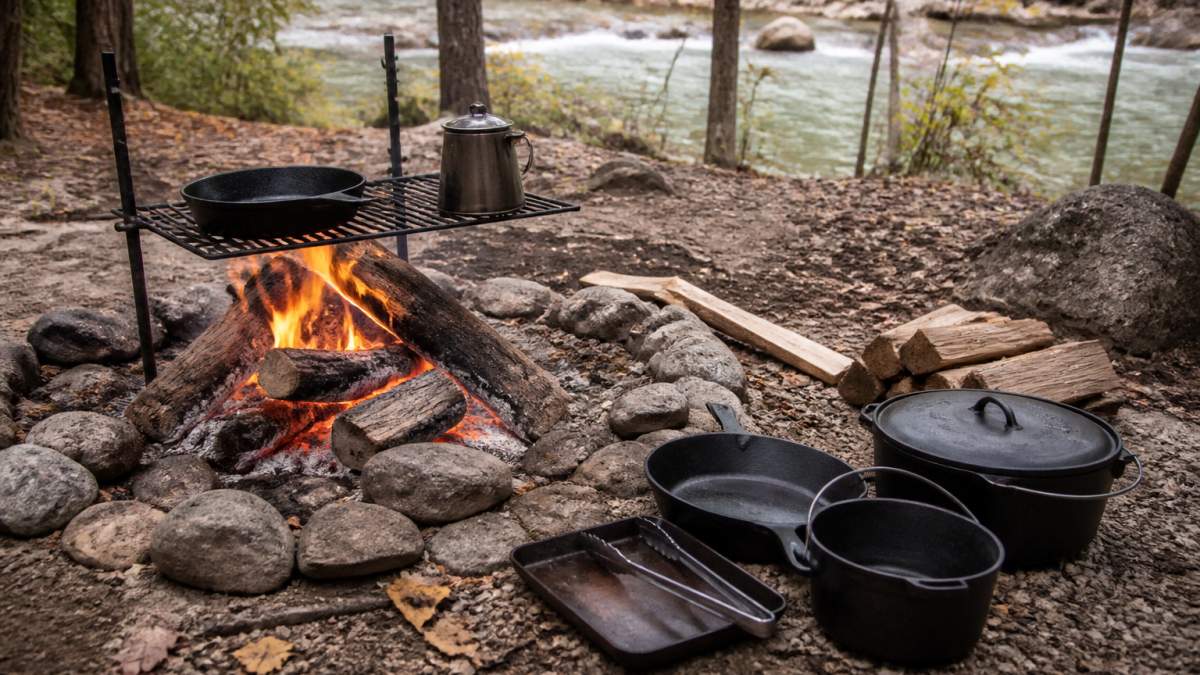
A proper setup requires a trivet or grill grate to lift the pot above flames, a lid lifter for safe removal, heat-resistant gloves, and charcoal briquettes for consistent heat.
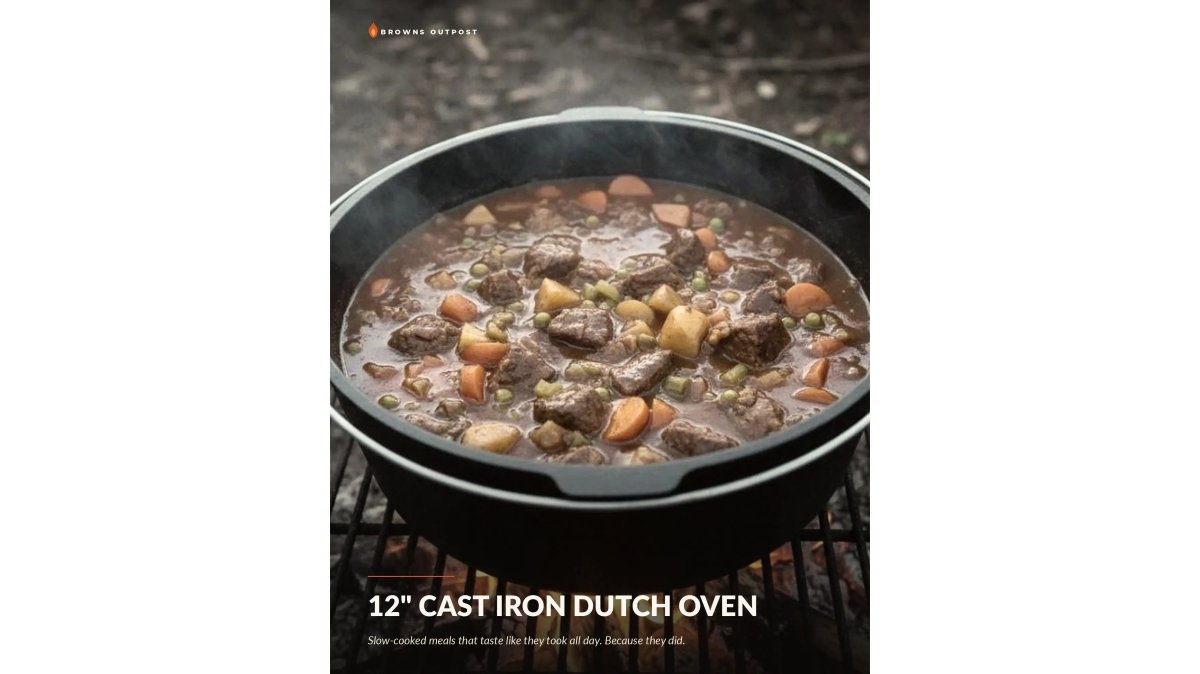
The 12-inch Dutch Oven from Browns Outpost is the workhorse size for group camping. At 30.5 cm diameter, it feeds 4-6 people comfortably and works on campfire, coals, grill, or stovetop. The flanged lid is specifically designed to hold coals on top, turning the pot into a genuine camp oven for bread, cobbler, and casseroles without needing propane.

For backcountry trips, the 8-inch Dutch Oven with Lid serves 1-2 people and accepts coals on the lid for camp-oven baking.

| Gear Item | Purpose | Why It Matters |
|---|---|---|
| Trivet or grill grate | Elevates pot above flames | Prevents scorching on bottom |
| Lid lifter | Safely removes hot lid | Protects hands and food |
| Heat-resistant glove | Handles hot cookware | Prevents burns |
| Long-handled spoon | Stirs without damaging seasoning | Keeps non-stick layer intact |
| Charcoal briquettes | Provides consistent heat | Coals burn more evenly than wood |
How to Control Campfire Heat for Dutch Oven Cooking
Heat control separates successful campfire cooking from burnt disasters. The secret is using charcoal briquettes instead of wood flames, and understanding the exact number of coals needed for your target temperature.
Charcoal briquettes burn hotter and more consistently than wood, producing predictable heat output. Wood flames spike unpredictably, making steady heat impossible for braising or roasting.
Place coals on the lid and underneath the pot, using roughly twice as many on top as on the bottom to mimic a conventional oven. All coals on the bottom won't heat the top enough for baking.
Start with 8-10 coals underneath and 16-20 on top for a 12-inch Dutch oven at medium heat. You can add more, but removing them mid-cook is awkward.
Watch for white smoke underneath the pot; it means coals are too close and scorching food. Lift the pot to create an air gap. If there's no heat, add more coals.
Dutch Oven Campfire Temperature Chart and Heat Guidelines
The number of charcoal briquettes directly correlates to oven temperature, though exact temperatures depend on ambient conditions and coal age.
This chart applies to a standard 12-inch Dutch oven. For smaller sizes like the 8-inch, reduce coals by 25-30%. For larger cauldrons, increase by 10-15%.
| Desired Temperature | Coals on Bottom | Coals on Top | Total Coals | Best For |
|---|---|---|---|---|
| 163°C (325°F) | 6 | 12 | 18 | Slow braising, stews |
| 177°C (350°F) | 8 | 14 | 22 | Roasting, casseroles |
| 191°C (375°F) | 9 | 16 | 25 | Bread baking, cakes |
| 204°C (400°F) | 10 | 18 | 28 | Biscuits, quick breads |
These numbers assume coals are fresh and fully lit. Old or partially lit coals produce less heat; add 2-3 extra coals if they've sat for more than 30 minutes.
Cold or windy conditions require more coals; rainy or humid conditions require higher temperatures. Calm, dry days allow fewer coals.
The most reliable method: use a camping thermometer placed inside the Dutch oven (not touching the sides) to verify actual temperature. After a few trips, you'll develop intuition for the coal-to-heat relationship and won't need constant checking.
One-Pot Dinner Ideas for Cast Iron Dutch Oven
One-pot meals are the heart of campfire cooking. Sear meat, build flavor with aromatics, then braise while you relax.
Beef and Root Vegetable Braise feeds 4-6. Brown 1.5 kg beef chuck, remove it, sauté onions, carrots, and celery, return beef with 500 mL broth, cover, and maintain 163°C for 2.5-3 hours. Meat becomes spoon-tender and vegetables soften into a rich sauce.
Campfire Chili scales easily. Brown 1 kg ground beef with onions, add beans, tomatoes, tomato paste, chili powder, and cumin. Simmer uncovered at 177°C for 1.5-2 hours. Top with cheese and serve.
Slow-Roasted Chicken and Vegetables: Place chicken on sliced potatoes, carrots, and onions. Season, cover, and roast at 191°C for 1.5-2 hours. The bird's fat bastes the vegetables.
Fish and Seafood Stew: Layer potatoes, onions, and peppers with fish stock. Simmer at 163°C for 30 minutes, add fish or shellfish in the last 10 minutes. Finish with fresh herbs.
Vegetarian Bean and Grain Bowls: Cook grains with vegetable broth, add beans, vegetables, and spices. Simmer at 163°C until grains absorb liquid. Serve with nuts, seeds, or herbs.
The 10-inch Cauldron with Reversible Lid is excellent for soups and stews because its deeper belly contains more liquid without crowding the pot. The reversible lid flips flat-side up to become a griddle for cooking bacon, biscuits, or searing steaks alongside your main dish.

Dutch Oven Breakfast Recipes and Camp Kitchen Favorites
Breakfast over campfire sets the tone for the day. Dutch ovens excel at baking bread, biscuits, pancakes, and casseroles with even, enclosed heat.
Campfire Biscuits: Mix flour, baking powder, salt, and cold butter. Add buttermilk until soft dough forms. Drop onto parchment inside the Dutch oven and bake at 204°C for 12-15 minutes. Serve with jam, honey, or gravy.
Dutch Oven Pancakes feed a crowd. Pour batter into a greased Dutch oven and bake at 191°C for 15-20 minutes. Slice into wedges and top with berries, syrup, or nut butter.
Breakfast Casserole: Layer diced bread, cooked sausage, and cheese in the Dutch oven. Pour beaten eggs mixed with milk over everything. Cover and bake at 177°C for 45 minutes to 1 hour.
Campfire Bread: Let dough rise overnight. Shape, place on parchment inside the Dutch oven, and bake at 204°C for 30-40 minutes with the lid on. Remove the lid for the last 5 minutes to brown the crust.
Oatmeal and Grain Porridges are warming and economical. Toast oats or grains in the Dutch oven, add water or milk, and simmer gently at 163°C for 20-30 minutes. Stir occasionally. Top with dried fruit, nuts, honey, or brown sugar. This approach works for any grain: barley, quinoa, or millet. It's forgiving and scales easily.
The 7.5-inch Sauce Pan with Lid is ideal for breakfast sides, simmering beans, reducing sauces, or cooking rice without hogging the main fire. Its fitted lid seals in moisture, and the smaller footprint leaves room for your main cooking vessel.
How to Reseason Cast Iron Pans Step by Step
Cast iron improves with use. Every time you cook with it, a new layer of seasoning builds up. But after campfire cooking, especially if you've cooked acidic foods or cleaned aggressively, you'll want to actively reseason to maintain the non-stick surface.
Step 1: Clean thoroughly with hot water. Hand-wash the Dutch oven immediately after cooking while it's still warm. Use hot water only, no soap needed. A soft brush or cloth removes food residue. Never use a dishwasher, which strips seasoning in one cycle.
Step 2: Dry completely on heat. Place the still-wet Dutch oven on a low fire or warm stove for 2-3 minutes.
Cleaning and Seasoning Cast Iron After Campfire Use
Campfire cooking is harder on cast iron than home cooking. Ash, smoke, and direct coal contact create challenges that require a slightly different cleaning approach.
Frequently Asked Questions
What are the best cast iron dutch oven campfire recipes for beginners?
Start with simple one-pot meals: chili, stew, and slow-roasted meats. These require minimal technique and forgive slight heat variations. A 12-inch dutch oven works well for feeding a group. Layer ingredients, cover with coals on the lid, and let it braise for 2-3 hours. Soups and bean dishes are equally forgiving and teach you heat control without risk of burning.
How do you control the temperature of a dutch oven on a campfire?
Use charcoal briquettes for precise heat control; they burn predictably. Place briquettes under the pot for bottom heat and on the flanged lid for top heat. A rough guide: 12-15 briquettes underneath and 16-20 on top creates 177°C (350°F). Adjust by adding or removing briquettes. For wood fires, position the pot at the fire's edge where heat is gentler than direct flames.
How do you clean a cast iron dutch oven after campfire use?
While still warm, rinse with hot water only and scrub with a stiff brush to remove food residue. Never use soap, as it strips seasoning. Dry immediately on the fire or camp stove. Once dry, apply a thin coat of neutral oil (vegetable or canola) with a cloth, then wipe off excess. This prevents rust and maintains the non-stick surface for your next cook.
Can you use a regular kitchen dutch oven for campfire cooking?
Kitchen Dutch ovens lack the heavy-duty construction needed for direct flame and coals. Campfire-rated cast iron like a 12-inch Dutch oven from Browns Outpost is thicker and handles extreme temperature swings. Kitchen versions may crack or warp over an open fire. Campfire-tested gear is worth the investment for durability and safety.
Cast iron Dutch oven campfire cooking isn't complicated, but it does require attention to heat control and maintenance. The recipes work, the techniques are straightforward, and the results taste like you spent all day over the fire. Start with a reliable Dutch oven like Browns Outpost's hand-crafted cast iron, master the coal-to-temperature conversions, and build your seasoning routine into every trip. Your future camping meals, and your cast iron, will thank you.