 listicle
Essential Campfire Cooking Gear for Beginners
Table of Contents
- The Core Campfire Cooking Gear Every Beginner Needs
- Campfire Cooking Safety Tips You Can't Skip
- Open Fire Cooking Techniques for Beginners
- How to Maintain Cast Iron Cookware After Every Trip
- Essential Utensils and Fire-Starting Tools
- Food Storage, Cleanup, and Leave No Trace
- Weight, Portability, and Budget-Friendly Alternatives
- Frequently Asked Questions
Last Updated: September 27, 2026
The Core Campfire Cooking Gear Every Beginner Needs
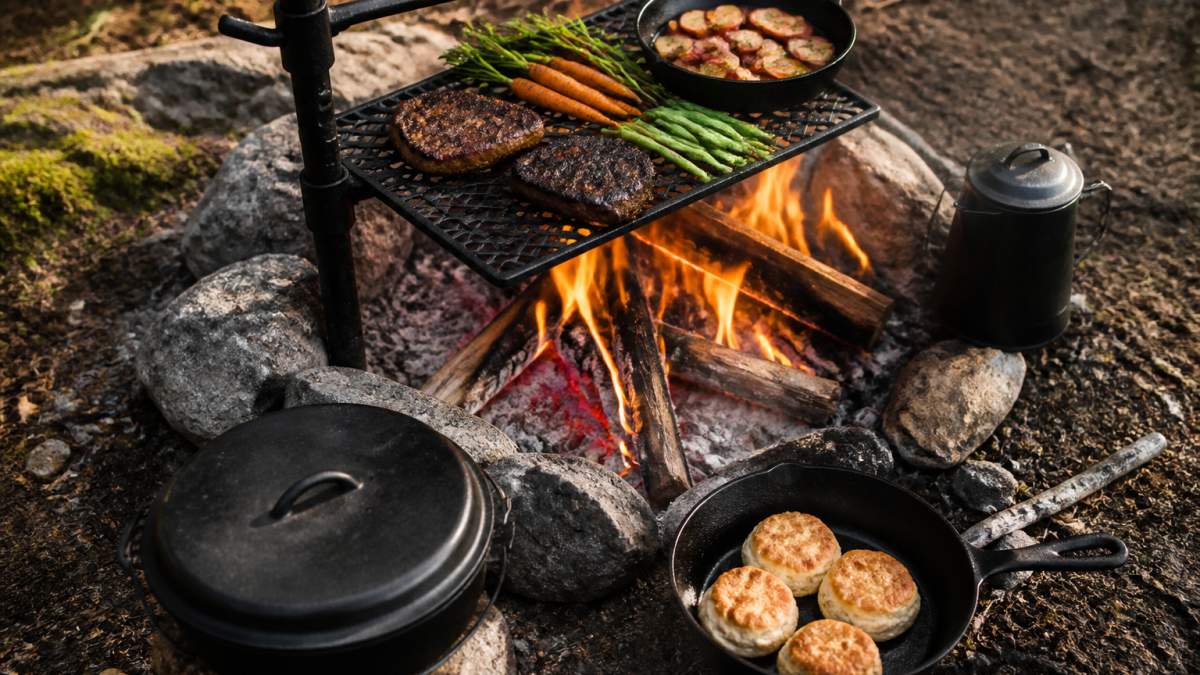
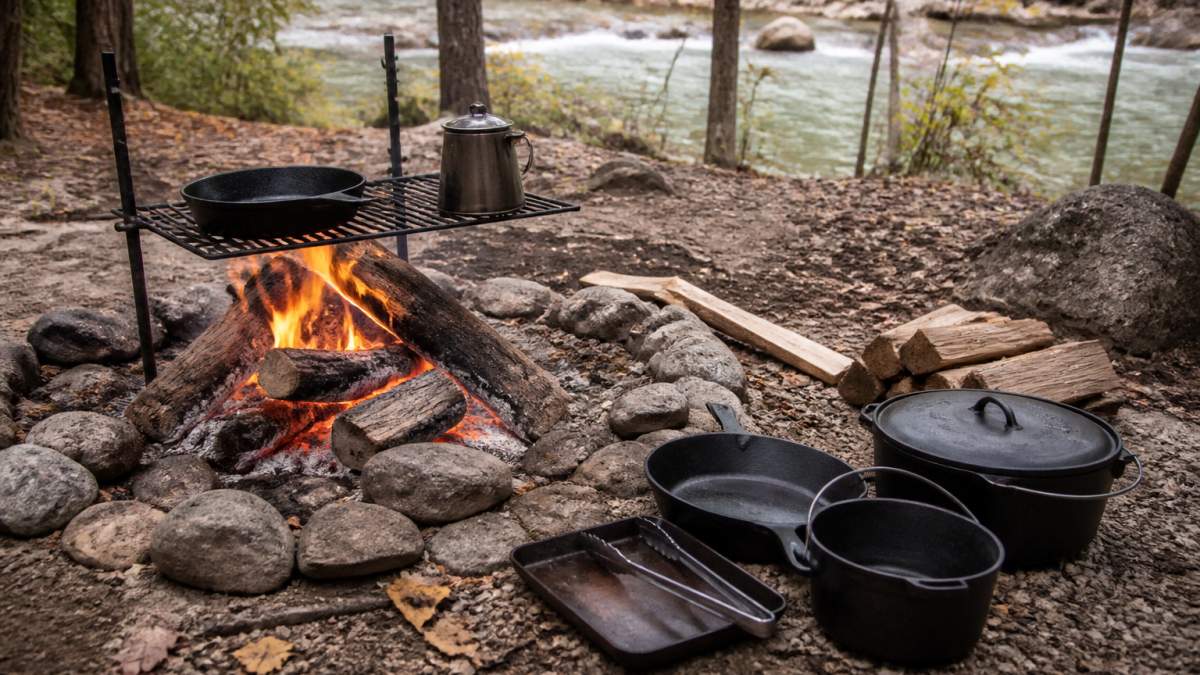
The essential campfire cooking gear for beginners comes down to four pieces: a cast iron skillet, a dutch oven, an adjustable grill grate, and a heat-resistant glove. Get those right and you can cook almost anything over an open flame. This guide from Browns Outpost walks through each one, plus the safety habits and maintenance routines that keep the gear working for decades.
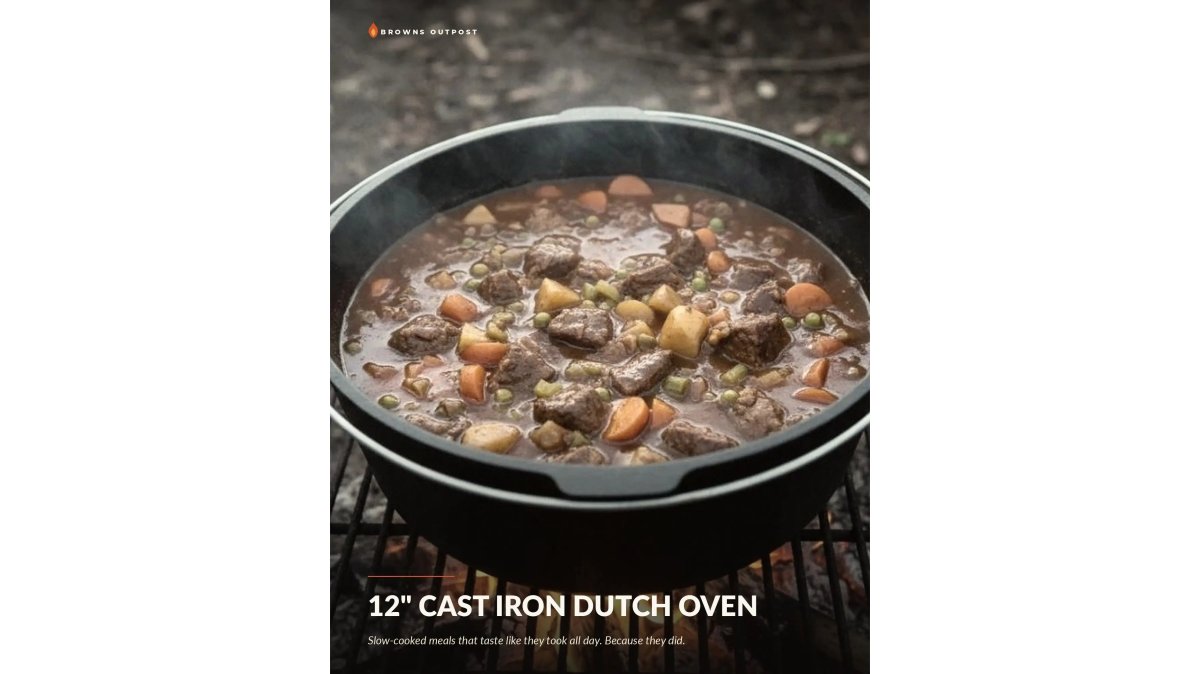
Cast Iron Cookware: Skillets, Dutch Ovens, and Griddles
Cast iron is the backbone of any camp kitchen. It holds heat, spreads it evenly, and survives direct contact with coals in a way that thin steel and nonstick pans simply do not.

Three pieces cover nearly every camp meal:
- A 10-inch shallow skillet for eggs, bacon, searing, and fast dinners. Browns Outpost sells one for $32.99.
- A 12-inch dutch oven for stews, braises, and bread baked under coals. The 12" Dutch Oven runs $52.99 and serves 4-6 people.
- A flat griddle for pancakes and smash burgers when you're feeding a crowd. The 16"×9" Griddle costs $37.99 and sits flush over most campfire grates.
The Adjustable Grill That Changes Everything
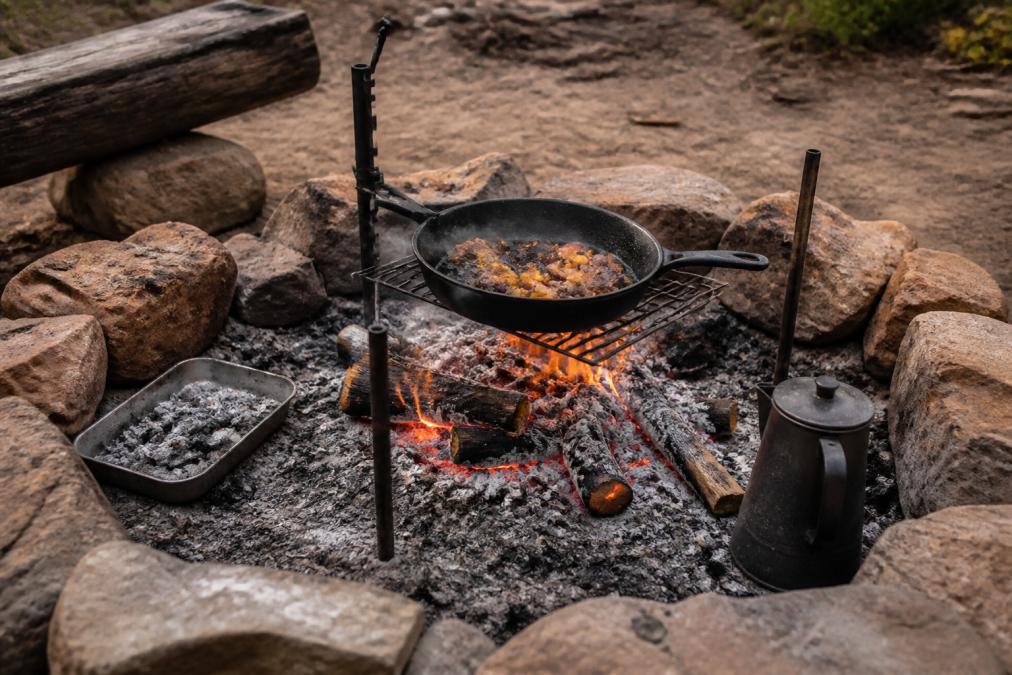
An adjustable grill is the single upgrade that separates frustrating campfire cooking from controlled cooking. Instead of guessing how high to hold a grate above the flames, you slide the grate up or down the stake and lock it in place.

Campfire Cooking Safety Tips You Can't Skip
Campfire cooking safety tips start with one rule: never leave an active fire unattended, and never cook over a fire you can't control. Beyond that, a few habits prevent most injuries.
Keep these in mind before you cook:
- Set up your prep area upwind and well clear of the fire ring
- Use heat-resistant gloves with a leather or aramid palm, not cotton oven mitts
- Keep a bucket of water and a shovel within arm's reach
- Never add lighter fluid to live coals
- Tie back loose clothing and hair before leaning over the grate
- Confirm your campsite allows open fires before you build one; many provincial parks restrict them during dry periods
Open Fire Cooking Techniques for Beginners
Open fire cooking techniques for beginners come down to managing two things: where the heat sits and how much of it reaches the food. Learn those and the rest is practice.
The three setups worth learning:
- Direct heat: food sits right over coals for searing and fast cooking
- Indirect heat: food sits beside the coals, lid on, for even cooking through
- Coals on top: for dutch oven baking, coals go on the flanged lid as well as underneath
Direct vs Indirect Heat: When to Use Each
Use direct heat for anything thin and fast: steaks, chops, eggs, pancakes. Use indirect heat for anything thick or slow: whole chickens, roasts, bread, casseroles.
How to Maintain Cast Iron Cookware After Every Trip
Maintaining cast iron cookware is simpler than the internet makes it sound, but the routine changes once you're in the field. Three steps, every time: rinse, dry on heat, oil. What most guides skip is how to keep that routine working when you're miles from a kitchen sink and the air is damp.
- Hand-wash with hot water only. Soap isn't needed and can strip seasoning. If food is stuck, scrape with a stiff brush or a chainmail scrubber rather than soaking.
- Dry it immediately on a warm burner or over coals. Water is the enemy, not heat. On a fire, rest the pan on a grate over dying embers for a few minutes until every trace of moisture flashes off.
- Wipe a thin coat of neutral oil across the whole surface, inside and out. Flaxseed, canola, or grapeseed all work. A paper towel with a dime-sized drop covers a 10-inch skillet.
- Store it dry, with a paper towel between stacked pieces if you're packing them. A folded bandana works too.
Seasoning Recovery in the Field
If rust appears, scrub it off with steel wool or fine sandpaper, re-oil, and bake the pan upside down for an hour. On a campfire, you can approximate this by oiling the pan and setting it upside down over low coals for 30-45 minutes, rotating once. The seasoning comes back, though it may take two or three rounds to match a stovetop bake.
Caring for the Rest of the Kit
Cast iron gets the attention, but the grill, utensils, and dutch oven need attention too:
- Adjustable grill: Wipe the carbon steel surface with oil after each use to prevent rust. Store it flat and dry. If the stake develops surface rust, a green scouring pad and a light oil coat restore it.
- Dutch oven: The lid rim and the pot rim are the rust-prone spots. Dry both separately, oil the rims, and store the lid slightly ajar so air moves.
- Metal utensils: A spatula or tongs left in the fire ring overnight will pit. Wipe them down and store them with the rest of the kit.
- Heat-resistant gloves: Leather palms stiffen if soaked. Air-dry them away from the fire, never on a rock next to the coals.
Essential Utensils and Fire-Starting Tools
Utensils and fire-starting tools round out the kit. You don't need much, but what you carry should survive heat and open flame.
The short list:
- Long-handled tongs for turning meat without losing arm hair
- A metal spatula with a straight edge for the griddle and skillet
- A ladle or long spoon for the dutch oven
- A fire starter and a backup lighter or ferro rod
- Charcoal or split hardwood, kept dry in a sealed bag
- Aluminum foil, heavy-duty, for packet meals and wind breaks
Food Storage, Cleanup, and Leave No Trace
Food storage and cleanup decide whether your trip ends well. Store food in sealed containers or ziplock bags, keep it in a cooler out of the sun, and never leave scraps out overnight.
For cleanup, follow Leave No Trace principles:
- Strain food scraps from dishwater and pack them out
- Use biodegradable dish soap, and use it well away from any water source
- Scatter strained greywater over a wide area, not in one spot
- Pack out every wrapper, foil ball, and bottle cap
Weight, Portability, and Budget-Friendly Alternatives
Weight and portability matter more than most beginners expect, and the right kit depends entirely on how you're getting to the campsite. A car camper can bring a full cast iron setup without thinking twice. A backpacker counting ounces needs a different approach. Most guides blur the two, which is why beginners end up either overpacking or leaving behind the one pan they actually need.
Car Camping vs Hike-In Camping
Car camping (drive-up sites, provincial park campgrounds with a parking pad) lets you bring the full kit: 10-inch skillet, 12-inch dutch oven, griddle, adjustable grill, and a cooler. Weight is a non-issue. Focus on organization instead, so you're not digging through a tote in the dark.
Portability Mechanisms That Actually Help
If you're carrying gear any distance, choose pieces that nest and stack. The 3-Piece Fry Pan Set from Browns Outpost nests three pans (10", 8", and 6") into roughly the space of one, for $47.99. The 7.5" Sauce Pan with Lid at $37.99 covers simmering without a full-size pot.
Other portability habits worth adopting:
- Use a single stuff sack or dedicated tote for all cooking gear so nothing gets left at the site
- Choose utensils that double up (a spatula with a bottle opener, tongs that lock closed)
- Skip the full-size cooler for short trips; a soft-sided bag saves space and weight
- Carry oil in a small leak-proof bottle, not the kitchen jug
Budget-Friendly Alternatives
For budget-friendly alternatives, buy fewer, better pieces. One skillet and one dutch oven will outlast a cheap set of five. A well-made pan costs more upfront and less over ten years.
- A metal coffee percolator or a pour-over cone from the kitchen works fine over coals
- A folded piece of heavy-duty aluminum foil makes a wind break or a makeshift lid
- A bandana doubles as a pot holder, a strainer, and a drying cloth
- A small wire cooling rack from the kitchen can sit on a grill grate as a raised trivet
| Gear Piece | Price (CAD) | Best For | Weight Consideration |
|---|---|---|---|
| 10" Shallow Skillet | $32.99 | Eggs, searing, fast meals | Light for cast iron (~5-6 lb) |
| 12" Dutch Oven | $52.99 | Stews, braises, bread | Heavy, worth it for groups (~14 lb) |
| ANVIL Grill | $174.99 | Full heat control over fire | Packs flat, 16.5 lb |
| 16"×9" Griddle | $37.99 | Pancakes, smash burgers | Long, plan storage |
| 3-Piece Fry Pan Set | $47.99 | All-round cooking | Nests to save space |
Frequently Asked Questions
What is the best cookware for cooking over a campfire?
Cast iron is the standard for campfire cooking because it handles direct flame, holds heat evenly, and gets better with use. A 10-inch shallow skillet covers most meals, while a 12-inch Dutch oven handles stews and bread. Carbon steel grills like the ANVIL offer adjustable height for precise heat control. Both materials work on campfires, coals, grills, and stovetops, so one set covers every cooking scenario you'll face.
How do you start cooking over a campfire for beginners?
Build a bed of coals rather than cooking over open flames. Let the fire burn down for 20 to 30 minutes until you have steady embers. Set your grill grate or cast iron directly over or beside the coals depending on the heat you need. Start with simple foods like bacon, eggs, or sausages to learn how your fire behaves before attempting longer cooks like stews or bread.
Is cast iron or carbon steel better for campfire cooking?
Both work well over fire. Cast iron holds heat longer and suits slow cooking, baking, and searing. Carbon steel heats faster and weighs less, which matters when you're carrying gear to a remote site. Many campers bring both: cast iron cookware for Dutch oven meals and a carbon steel grill for direct grilling. The ANVIL grill uses heavy carbon steel and handles up to 40 lb (20 kg) on its 15 x 20 inch (38 x 50 cm) surface.
How do you clean campfire cooking gear in the wilderness?
Scrape food residue out with a spatula, then rinse with hot water only. Cast iron should never see soap or a dishwasher, as both strip the seasoning. Dry it immediately on heat so no water spot has a chance to rust the surface. Re-oil with a thin coat of neutral oil after every wash. For the grill grate, burn off residue over the fire and brush it clean while warm, then oil the grate lightly.
The hardest part of campfire cooking isn't the fire. It's buying gear once and trusting it for years instead of replacing it every season. Browns Outpost builds heavy-duty cast iron and carbon steel gear for exactly that: hand-crafted construction, an adjustable campfire grill design that gives you real heat control, and a lifetime warranty behind every piece. Free shipping over $75 CAD. Get started with Browns Outpost and cook over a real fire with gear that lasts.