 how-to
How to Manage Heat for Open Flame Cooking
Table of Contents
- Understanding Heat Sources in Open Flame Cooking
- How to Build a Two-Zone Fire for Flexible Cooking
- The Hand-Test Method: Your Primary Temperature Gauge
- Controlling Airflow and Oxygen for Precise Heat
- Essential Campfire Cooking Gear for Heat Management
- How to Manage Flare-Ups and Heat Spikes
- Managing Embers vs. Live Flames for Different Cooking Techniques
- Frequently Asked Questions
Last Updated: September 18, 2026
Understanding Heat Sources in Open Flame Cooking
Managing heat for open flame cooking starts with understanding how heat actually moves. Heat travels three ways: conduction (direct contact), convection (moving air), and thermal radiation (energy waves). Each method affects your food differently, and mastering them gives you total control over your results.
When you cook over an open fire, you're working with all three simultaneously. The cooking grate conducts heat directly into your food. Hot air rising from the flames uses convection to cook the sides. Radiant heat from the fire itself cooks from above and below. Understanding this matters because it changes how you position your food and adjust your distance from the heat source.
Direct Heat vs. Indirect Heat
Direct heat means your food sits directly over the flames or hot coals. Use this for searing, quick cooking, and high-temperature work. Direct heat creates a crust on meat and gives you fast, aggressive cooking.
Indirect heat means your food sits beside the fire, not over it. The heat surrounds your food without direct flame contact. This method cooks slowly and evenly, perfect for braising, roasting, and anything that needs time to develop flavor without burning the outside.
Most successful open flame cooking uses both. You start with direct heat to sear, then move to indirect heat to finish. This is where how to manage heat for open flame cooking becomes strategic instead of just reactive.
Heat Transfer Methods: Conduction, Convection, and Thermal Radiation
Conduction is the direct transfer of heat through the cooking grate into your food. The hotter the grate, the faster the heat moves. Browns Outpost's 12-inch Dutch oven and carbon steel cookware conduct heat efficiently, which is why they're ideal for campfire cooking. A grate that's properly seasoned and maintained conducts heat evenly across its surface.

Convection happens when hot air moves around your food. In an open fire, hot air rises from the flames and circulates around whatever you're cooking. This is why tall foods cook faster on the sides than the bottom. Convection also means wind can dramatically affect your cooking, something we'll cover in detail later.
Thermal radiation is the heat you feel radiating from the fire itself. It's the same energy that warms your face when you stand near a campfire. Radiation travels in straight lines and doesn't require contact or moving air. The closer you are to the fire, the more radiation you absorb. This is why moving food away from the fire cools it faster than you might expect.
How to Build a Two-Zone Fire for Flexible Cooking
The two-zone fire is the foundation of professional open flame cooking. One side burns hot for searing and quick cooking. The other side stays cooler for finishing and low-and-slow work. This setup gives you flexibility without rebuilding your fire mid-meal.
Creating Your Hot and Cool Zones
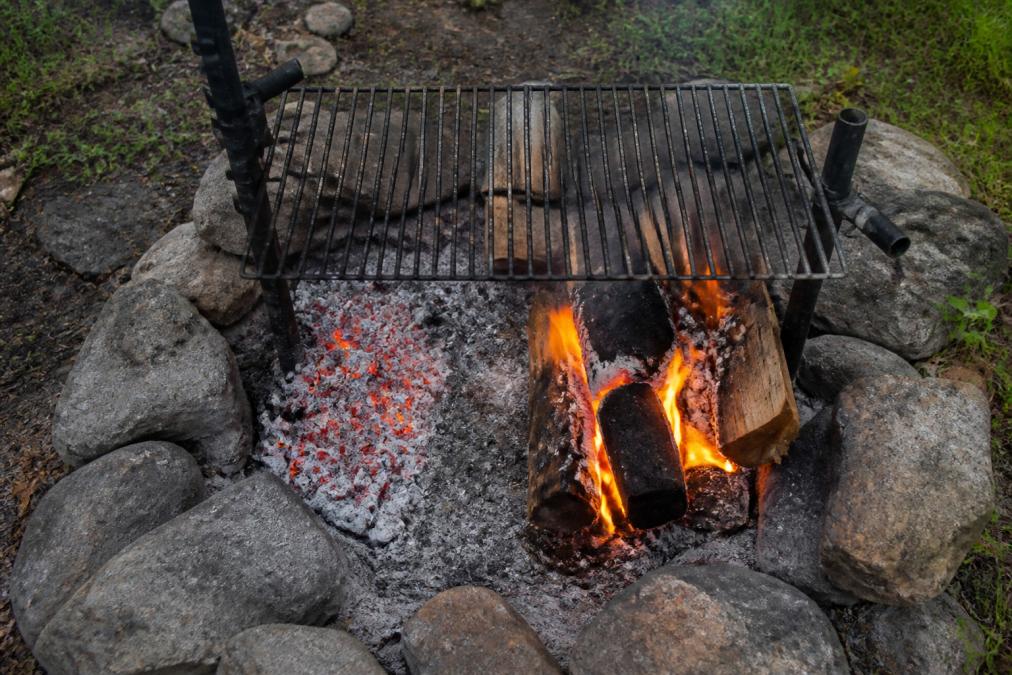
Start by building your fire off-center. Stack your coals or wood on one side of your fire pit or ring. Leave the other side with minimal fuel. The hot zone should have active flames and glowing coals. The cool zone should have some heat but no direct flames.
The exact temperature difference depends on your fuel and setup. A good rule: you should be able to hold your hand over the cool zone for 10+ seconds comfortably. Over the hot zone, you can only hold it there for 2-3 seconds before it becomes unbearable.
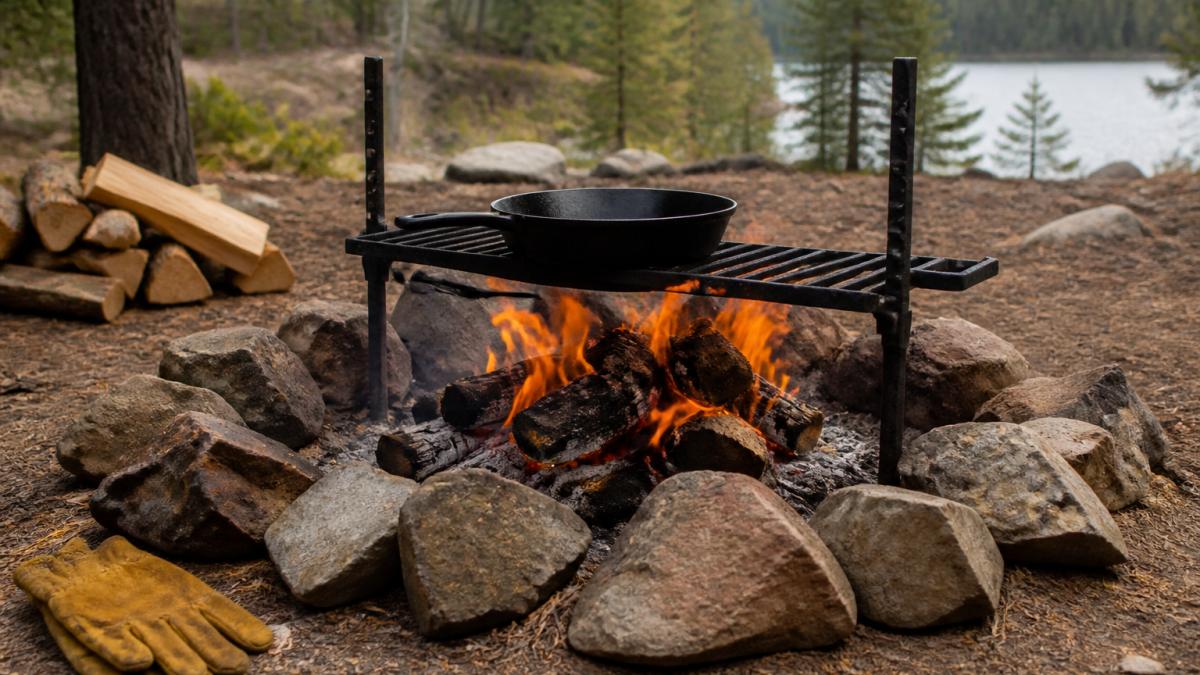
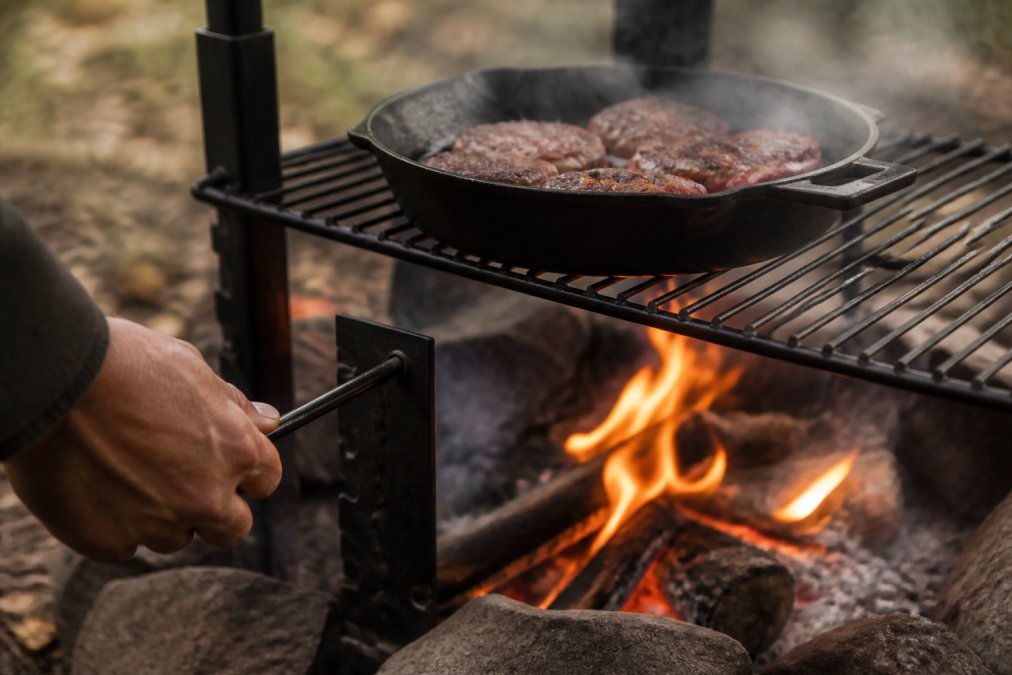
Position your cooking grate so it spans both zones. This lets you move food between them without removing the grate. A grate that adjusts in height makes this even easier; you can lower it over the hot zone for searing and raise it over the cool zone to slow the cooking.
Managing the Fuel Bed for Steady Heat
The fuel bed is everything under the flames. It determines how long your fire burns and how evenly it heats. A good fuel bed uses hardwood charcoal or seasoned hardwood; never softwoods like pine or spruce, as they create too much smoke and ash.
For a two-zone fire, add fuel to the hot side only. Let the cool side's coals burn down naturally. This maintains your temperature zones without constant adjustment.
The Hand-Test Method: Your Primary Temperature Gauge
The hand-test is simple, reliable, and requires no equipment. Hold your hand flat about 10 cm above the cooking grate. Count how many seconds you can hold it there before the heat forces you to pull away.
The Lifetime Warranty ANVIL Grill →
- 2-3 seconds: Very hot zone (approximately 230°C+). Use this for searing steaks and quick-cooking vegetables.
- 4-5 seconds: Hot zone (approximately 175-230°C). Good for most grilling and cooking protein through.
- 6-7 seconds: Warm zone (approximately 120-175°C). Ideal for slow cooking and finishing dishes.
- 8+ seconds: Cool zone (under 120°C). Use this for holding food warm or very slow cooking.
Controlling Airflow and Oxygen for Precise Heat
Oxygen feeds fire. More oxygen means hotter, faster-burning flames. Less oxygen means slower, steadier heat. This principle is how you fine-tune your fire without moving it or adding fuel.
Using Vents and Charcoal Management
If you're cooking in a fire pit with a grate, you can't directly control airflow the way you would with a charcoal grill. But you can manage it indirectly by controlling how much fuel burns at once.
Wind and Environmental Impact on Fire Stability
Wind is the variable most guides ignore. Even light wind dramatically affects how to manage heat for open flame cooking. Wind pushes flames sideways, creates uneven heat distribution, and can suddenly spike temperatures on one side of your fire.
Essential Campfire Cooking Gear for Heat Management
The right equipment makes heat management easier and more reliable. You don't need much, but what you choose matters.
Adjustable Grates and Equipment Selection
An adjustable grate is worth its weight. The ability to raise or lower your cooking surface while the fire burns lets you fine-tune heat without moving food or rebuilding your fire. Browns Outpost's ANVIL adjustable campfire grill does exactly this; it slides up and down on a stake to dial in precise heat over any fire. With a 15 x 20 inch cooking surface and adjustable height, it handles everything from searing to slow cooking without repositioning.

Using Infrared Thermometers for Accuracy
An infrared thermometer gives you exact numbers. Point it at the cooking grate and you get an instant read. This removes guesswork and is especially useful when you're cooking for a group and can't rely on the hand-test alone.
How to Manage Flare-Ups and Heat Spikes
Flare-ups happen when fat drips onto hot coals or flames. The fat ignites and creates a sudden burst of heat. This can char the outside of your food before the inside cooks. Heat spikes are the same problem: a sudden increase in temperature from wind, coals shifting, or fresh fuel catching fire.
Identifying and Preventing Flare-Ups
Watch for fat dripping from your food. Leaner cuts cause fewer flare-ups. Fattier cuts need more attention. Position fatty foods over the cooler zone when possible, so dripping fat falls onto cooler coals.
Moving Food and Adjusting Distance from the Heat Source
The fastest way to stop a heat spike is to move your food. Shift it to the cool zone immediately. This removes it from the intense heat and gives you time to assess what happened.
Managing Embers vs. Live Flames for Different Cooking Techniques
Embers and flames cook differently. Flames are hot and fast. Embers are steady and even. Most professional outdoor cooks use embers for the majority of cooking and flames only for searing.
Frequently Asked Questions
How do you tell if a campfire is hot enough for cooking?
Use the hand-test method: hold your hand 10 cm above the cooking grate. If you can hold it there for only 2-3 seconds before the heat forces you to pull away, you have high heat (searing temperature). Four to five seconds indicates medium heat (safe for most cooking), and 8-10 seconds means low heat (slow-cooking or gentle warming). An infrared thermometer confirms exact temperatures: above 200°C is high heat, 150-200°C is medium, and below 150°C is low. Always test before placing food on the grate.
What is the best way to cook on an open fire?
Build a two-zone fire with both direct heat (for searing and quick cooking) and indirect heat (for slow-cooking and gentler warmth). Use an adjustable grate like the ANVIL to raise or lower your cooking surface and dial in exact heat. Start with the hand-test to gauge temperature, then adjust grate height or move food between zones as needed. Keep hardwood charcoal or seasoned firewood steady for consistent heat, manage airflow with vents to control intensity, and use cast iron cookware like our Dutch ovens to distribute heat evenly and hold thermal mass for stable cooking temperatures.
Can you use cast iron over open flame?
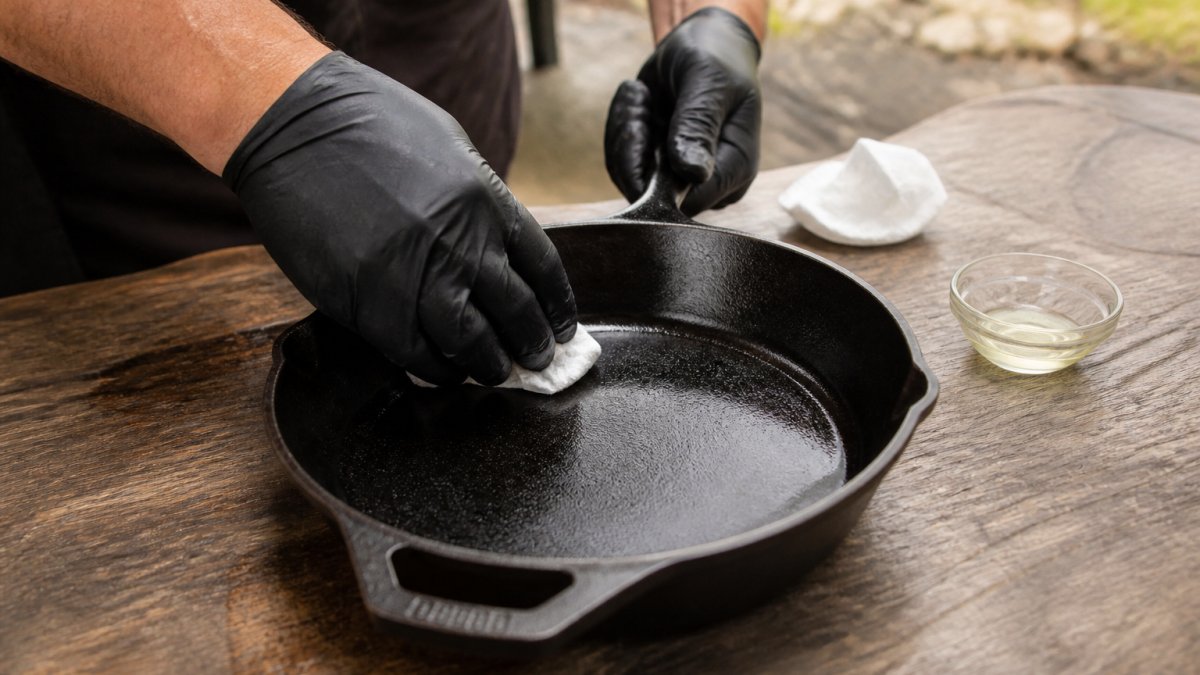
Yes, cast iron is ideal for open flame cooking. Heavy cast iron cookware like Browns Outpost's 12-inch Dutch oven or 10-inch cauldron handles direct flame and coal contact better than almost any other material. Cast iron distributes heat evenly across its thick walls, preventing hot spots and scorching. It also retains heat exceptionally well, which helps maintain steady cooking temperatures even as the fire fluctuates. After each use, hand-wash with hot water only, dry immediately on the heat source, and apply a light coat of neutral oil to maintain seasoning and prevent rust.
How do you adjust heat levels without a dial on a campfire?
Adjust heat in three ways: raise or lower the cooking grate to increase or decrease distance from the flames (higher grate = lower heat), move your food between direct-heat and indirect-heat zones depending on how fast you want to cook, and manage your fuel bed by adding or reducing firewood and controlling airflow with vents. An adjustable grate like the ANVIL makes height changes quick and precise. You can also move coals or push active flames to the side to create cooler zones instantly. Combine these techniques to achieve any temperature range your recipe requires.