 how-to
How to Set Up a Campfire Cooking Station in 7 Steps
Table of Contents
- Step 1: Pick a Safe, Level Spot for Your Campfire Cooking Station
- Step 2: Choose Your Heat Source and Build the Fire
- Step 3: Set Up Your Campfire Cooking Equipment
- Step 4: Nail Your Campfire Grill Setup and Heat Control
- Step 5: Organize Food Prep, Cooking, and Serving Zones
- Step 6: Build a Car Camping Cooking Setup That Packs Flat
- Step 7: Campfire Safety, Food Hygiene, and Weather Contingencies
- Conclusion: Your Camp Kitchen, Built Once, Used for Years
- Frequently Asked Questions
Last Updated: October 6, 2026
Step 1: Pick a Safe, Level Spot for Your Campfire Cooking Station
A campfire cooking station is a dedicated outdoor area where you build your fire, prep food, cook over open flame, and serve meals within a safe, organized footprint.
Find flat, clear ground: bare dirt, gravel, or rock. Avoid grass, roots, and overhanging branches, and stay 3 metres from tents, bushes, and gear.
Check the wind first: the fire should sit upwind of your seating and food prep area.
Clear the Ground and Check Overhead
Clear a 3-metre circle down to bare soil. Move twigs, dry leaves, and pine needles well away; they catch sparks fast.
Then look up: low branches dry out and ignite from rising heat, so keep 3 metres of clear space above the fire.
Step 2: Choose Your Heat Source and Build the Fire
Your heat source sets the rules. A wood fire gives coals for slow cooking and flame for searing; a camping stove gives fast, controlled heat with no ash. Many campers bring both.
For a wood fire, build a small teepee or log cabin in the centre of your cleared circle: tinder, kindling, then split firewood. Let it burn down to hot coals before cooking.
Coals, not flames, do the real work: flames char food outside while the inside stays raw; coals give steady, even heat.
- Tinder: dry grass, birch bark, or shavings
- Kindling: pencil-thick sticks
- Fuel: split hardwood, kept nearby but upwind
Step 3: Set Up Your Campfire Cooking Equipment
Good campfire cooking equipment comes down to three things: a stable cooking surface, a way to control height, and cookware that handles direct flame. Set these up before the fire gets hot.
Match the Support to Your Cooking Style
There is no single best support, only the best one for how you cook.
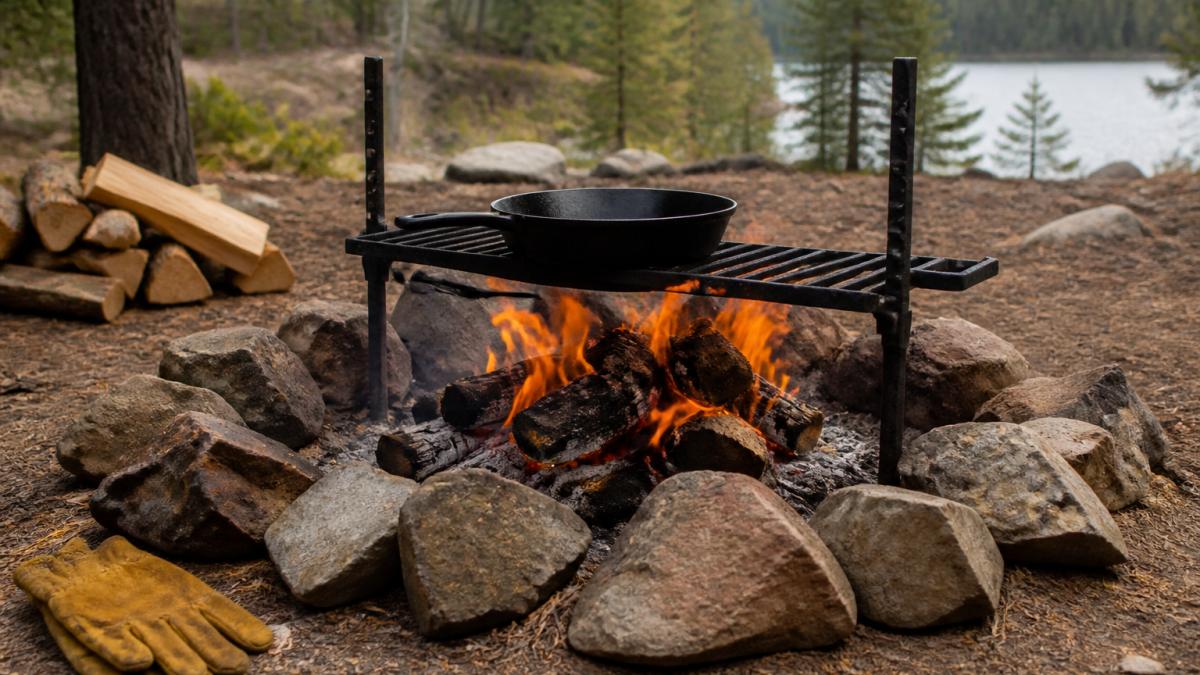
A stake-mounted adjustable grate is the most versatile choice for one or two people cooking real meals.
A portable propane or butane stove is the right call during a fire ban, when cooking in a hurry, or as a rainy-morning backup.
Many campers settle into one wood-fire support for the main meal and a small stove for coffee and quick breakfasts, a combination that covers almost every condition.
What Each Option Costs and When It Makes Sense
| Support |
|---|
| Stake-mounted adjustable grate |
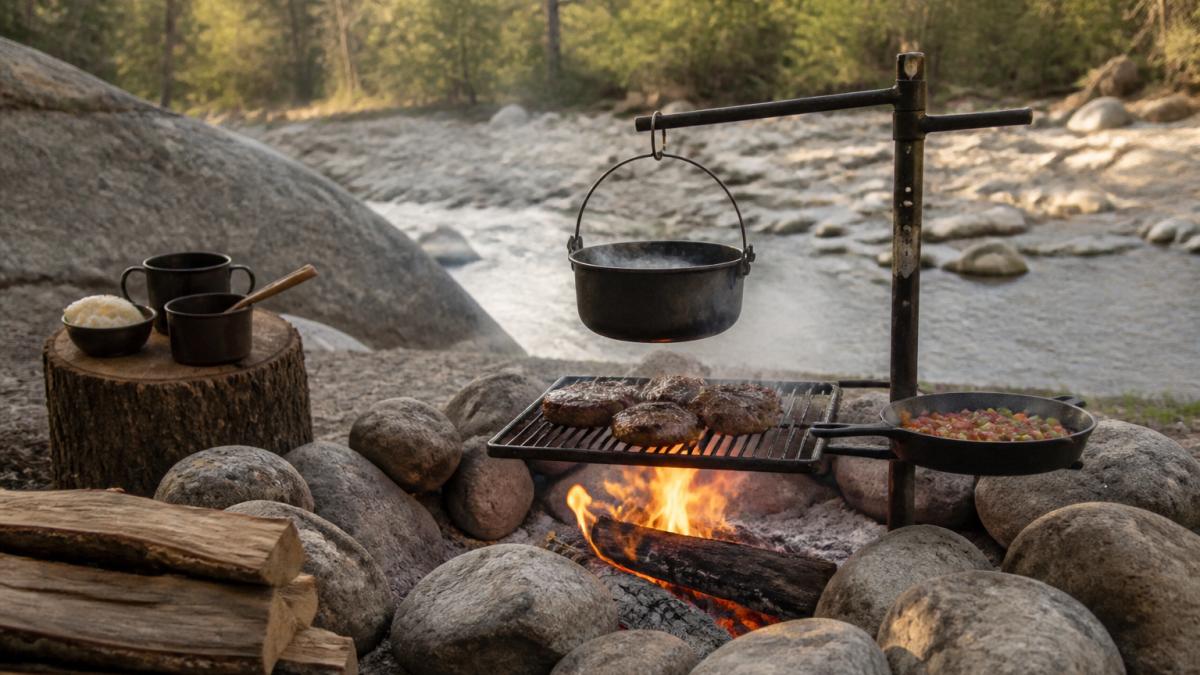
| Tripod with chain |
| Adjustable cooking arm |
| Portable propane or butane stove |
| Typical Price Range |
|---|
| $40-$120 |
| $50-$150 |
| $80-$200 |
| $40-$150 plus fuel |
| Best For |
|---|
| One or two people, searing and grilling |
| Stews, Dutch oven cooking, long simmers |
| Precise heat control, frequent fire cooking |
| Fire bans, fast meals, backup heat |
| Main Trade-off |
|---|
| One cooking position only |
| Less stable, harder to sear |
| Heaviest, needs firm ground |
| Not open-fire cooking, fuel to carry |
Cookware That Belongs Over Open Flame
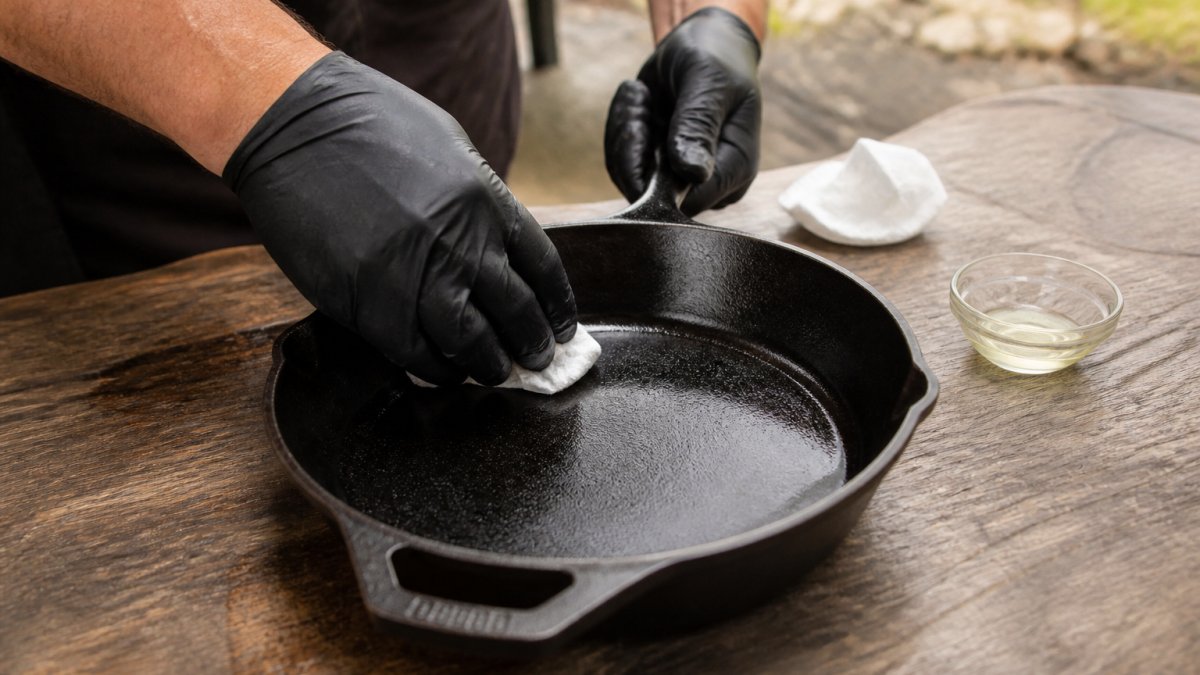
Not every pan survives a fire. Thin aluminum warps, non-stick coatings break down at open-fire temperatures, and glass and most ceramics crack from uneven heat. Cast iron and carbon steel take the abuse and get better with age.
We build our cookware from cast iron and hand-crafted raw carbon steel. It moves from coals to grate to camp table without complaint.
- 10" Shallow Skillet ($32.99): fast breakfasts, searing, eggs
- 12" Dutch Oven ($52.99): stews, braises, bread under the lid coals
- 10" Cauldron with Reversible Lid ($45.99): one-pot meals, plus a griddle when you flip the lid
A Note on Packability
For a car camp, weight matters less than volume; if you are carrying gear any distance, weight decides. A stake-mounted grate and nesting cast iron pack flatter and lighter than a tripod and full Dutch oven kit, so decide how far you are carrying gear before you buy.

Step 4: Nail Your Campfire Grill Setup and Heat Control
A campfire grill setup only works if you can control heat. Height above the coals is your main control. Distance is your temperature.
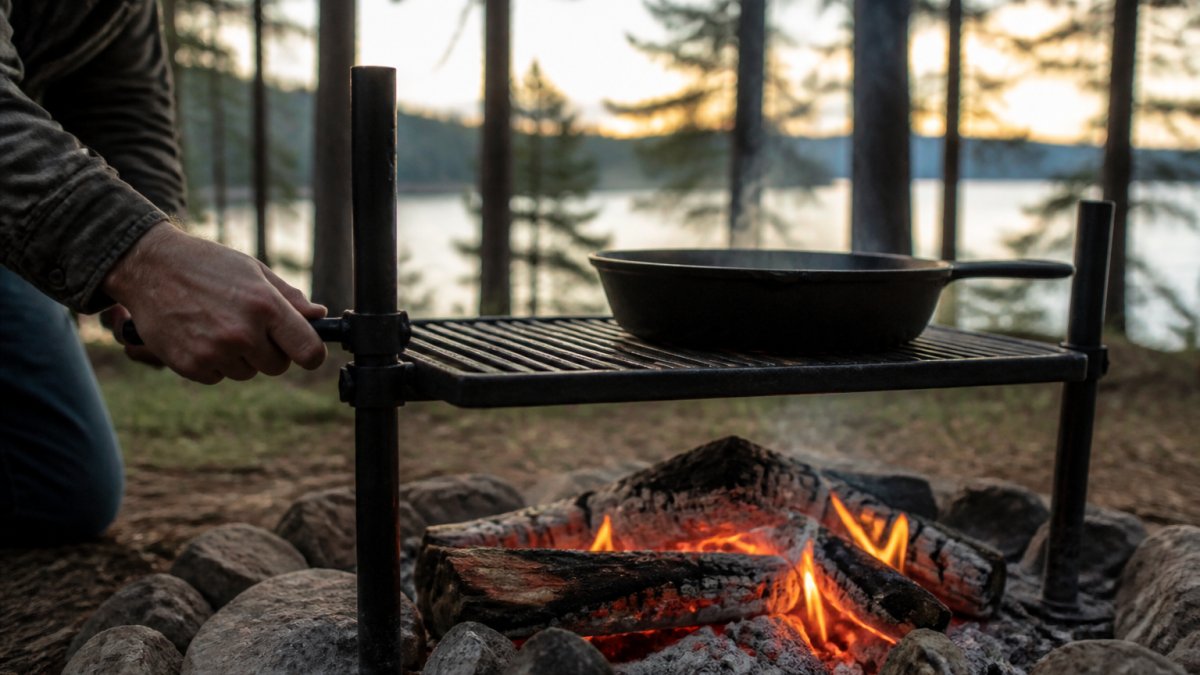
Hold your palm above the grate to test: two seconds is high heat for searing, five seconds is medium, ten seconds is low for keeping food warm.
Adjust in small steps. Lower the grate a few centimetres at a time and watch the food react.
Wind changes everything. If the fire flares, raise the grate. If it dies down, add a log and wait for coals.
| Heat Level |
|---|
| High |
| Medium |
| Low |
| Palm Test |
|---|
| 2 seconds |
| 5 seconds |
| 10 seconds |
| Best For |
|---|
| Searing steak, browning |
| Eggs, vegetables, fish |
| Simmering, warming, slow cooks |
Step 5: Organize Food Prep, Cooking, and Serving Zones
A clean camp kitchen runs on three zones: prep, cook, and serve. Keep them separate so you are not walking through fire to grab a plate.
Your cooking area is the fire itself. Keep only a spatula, tongs, and a heat glove within arm's reach; everything else stays back.
The serving area sits downwind or to the side, holding plates, cutlery, and a shelf or bin to keep food off the ground.
- Prep table: cutting board, knife, seasonings
- Cook zone: tongs, spatula, heat glove, lid lifter
- Serve zone: plates, cutlery, covered food storage
Step 6: Build a Car Camping Cooking Setup That Packs Flat
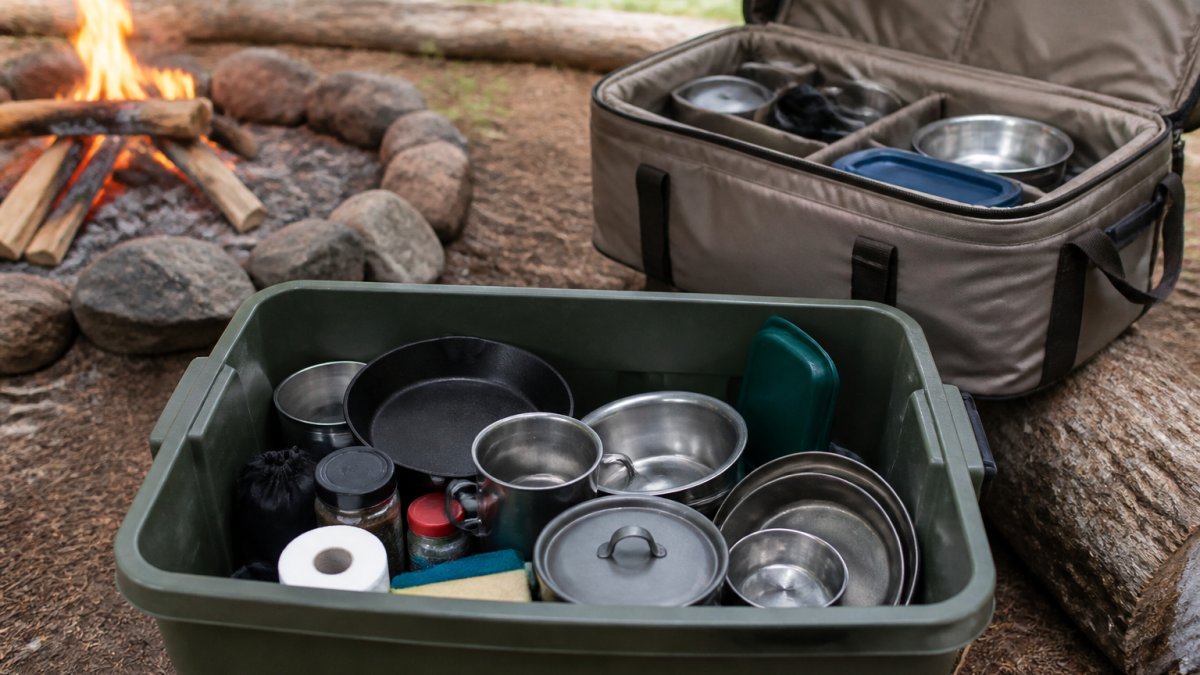
A car camping cooking setup should pack into one or two bins and set up in minutes.
The Lifetime Warranty ANVIL Grill →
Start with gear that breaks down: our ANVIL Grill stakes apart flat with no case needed, and nesting your cast iron saves room.

Pack in the order you will unpack: fire starters and the grill on top, cookware and food in a separate bin so nothing gets greasy.
For a portable outdoor kitchen, add a folding camp table and a small shelf unit. Both fold flat and give you a real work surface.
- One bin: fire tools, grill, gloves
- One bin: cookware, utensils, cleaning supplies
- One cooler: food, kept out of the sun
Step 7: Campfire Safety, Food Hygiene, and Weather Contingencies
Safety is not a step you finish; it runs through the whole setup. This section covers an ordered safety checklist, food hygiene at the station, and what to do when weather or rules change your plan.
The Safety Checklist, in Order
Run through this list every time you build a fire. The order matters, because each item depends on the one before it.
- Check for fire bans and restrictions before you leave home. Provincial and territorial authorities post fire restrictions online and at park entrances. If a ban is in place, a portable stove may be your only legal option. Do not assume a fire ring means fires are allowed.
- Confirm your clearance. At least 3 metres of bare ground around the fire and 3 metres of clear space above it, no overhanging branches, dry grass, or roots.
- Stage your water and shovel before you light anything. A bucket of water and a shovel within arm's reach of the fire, every time. Not in the tent, not in the car.
- Keep the fire small. A fire you can step over is a fire you can control. Large fires throw embers farther and are harder to extinguish.
- Never leave it unattended. Not for a trip to the tent or the water tap; wind can push embers into dry grass within minutes.
- Extinguish completely before you sleep or leave. Drown with water, stir the ashes, drown again. Feel the ashes with the back of your hand. If it is warm, it is not out.
Burn Prevention
Treat every coal as hot, even the grey ones. Coals hold heat for hours after the flames die, and one that looks dead can still burn through a boot sole.
- Use long-handled tools, not your hands. Tongs and a lid lifter keep your skin away from the heat.
- Keep loose clothing, sleeves, and hair tied back; synthetic fabrics melt and stick to skin.
- Set hot cookware on a flat rock or metal trivet, not on the ground where someone will step.
- Keep children and pets at least 1 metre back, and never let them tend the fire alone.
- If you do get burned, cool the area with clean, cool water and cover it. Seek medical help for anything larger than a small blister.
Food Hygiene at the Station
Food safety is where most camp kitchens quietly fail.
Handwashing. Set up a handwash station before you cook: a water container with a spigot, soap, and a towel.
Temperature control. Keep cold food cold: a cooler with ice or ice packs should hold food at 4°C or below.
Cook to safe temperatures. Poultry needs 74°C internally, ground meat 71°C, and whole cuts of beef, pork, and lamb 63°C plus a rest.
Cleanup. Wash dishes away from the fire and any water source.
Weather and Terrain Contingencies
Wind shifts. Wind changes direction through the day, especially in valleys and near water, so re-check smoke direction every hour or so.
Uneven ground. If you cannot find a flat spot, build in a shallow pit lined with mineral soil or use a portable fire bowl.
Fire bans. When a ban is in place, switch to a portable stove.
Dry conditions. Even without a formal ban, high heat and low humidity mean embers travel farther.
A Teardown Checklist
Before you leave, run the fire checklist in reverse. Fire out and cold to the touch. Ashes scattered and cool. Ground cleared of food scraps and grease. Dishes washed and packed. Cooler drained and dried. Trash packed out, including food particles from the wash water. Leave the site as you found it, or better.
Conclusion: Your Camp Kitchen, Built Once, Used for Years
Setting up a campfire cooking station takes one good afternoon and pays off on every trip after. Get the spot right, control your heat, and keep your zones clean.
Gear that lasts makes the difference. Browns Outpost builds heavy-duty cast iron cookware and the ANVIL adjustable campfire grill from hand-crafted raw carbon steel, all backed by a lifetime warranty. Every piece packs flat, works over any open fire, and ships free over $75 CAD.
Get started with Browns Outpost and cook over real fire with gear built to last a lifetime.
Frequently Asked Questions
Where should you place a campfire cooking station?
Pick level ground at least 3 metres from tents, brush, and overhanging branches. Clear a 1 metre circle down to bare soil and ring it with rocks. Keep the fire downwind of your sleeping area so smoke drifts away, and check for local fire bans before you light anything. A stable, level base also keeps pots from sliding off a grate.
What equipment do you need for campfire cooking?
At minimum: a heat source (firewood or a camping stove), a stable work surface, and cookware rated for open flame. Cast iron handles coals and direct flame better than thin pans. An adjustable grill like the ANVIL Grill gives you variable height so you can sear or slow-cook on one grate. Add long-handled tongs, heat-resistant gloves, a water supply, and a dedicated cleaning area.
How do you control heat when cooking over a campfire?
Cook over hot coals, not leaping flames. Let the fire burn down 20 to 30 minutes, then spread coals into a flat bed. Raise or lower your grate to change distance from the heat: close for searing, higher for low-and-slow cooking. The ANVIL Grill slides and locks along its stake so you can dial in exact heat without moving the fire.
How do you safely put out a campfire after cooking?
Let the wood burn down to ash, then drown the fire with water, stirring the ashes with a shovel. Keep adding water until hissing stops. Feel the ashes with the back of your hand, close but not touching. If any heat remains, add more water and stir again. Never leave a fire unattended, and never bury coals, since they can smoulder underground for hours.