 how-to
How to Organize a Camp Kitchen for Long Trips
Table of Contents
- Plan Your Camp Kitchen Setup Before You Leave
- Camp Kitchen Essentials You Need to Pack
- Camp Kitchen Storage Ideas for Gear Organization
- Camping Food Storage for Long Trips
- Create a Camp Kitchen Checklist for Every Trip
- Set Up Your Cooking and Prep Zones at Camp
- Maintain Your Camp Kitchen Throughout the Trip
- Frequently Asked Questions
Last Updated: October 10, 2026
Plan Your Camp Kitchen Setup Before You Leave
Learning how to organize a camp kitchen for long trips starts before you pack a single pan. Know what you're cooking, how many people you're feeding, and what heat source you'll use.
Assess your trip length and group size
Trip length determines everything. A weekend trip needs different gear than a two-week expedition.
Count your group first. More people means larger pots, more utensils, and bigger storage containers.
Count your days. Multi-day trips require food planning that accounts for perishables spoiling and dry goods lasting.
Write down your meals before you leave. Breakfast, lunch, dinner, and snacks. This simple step prevents overpacking and ensures you have the right cookware. If every dinner is a one-pot stew, you need a Dutch oven. If you're grilling individual steaks, you need cast iron skillets.
Choose your cooking method and heat source
Your heat source shapes everything else. Open fire, camp stove, or portable grill each require different gear.
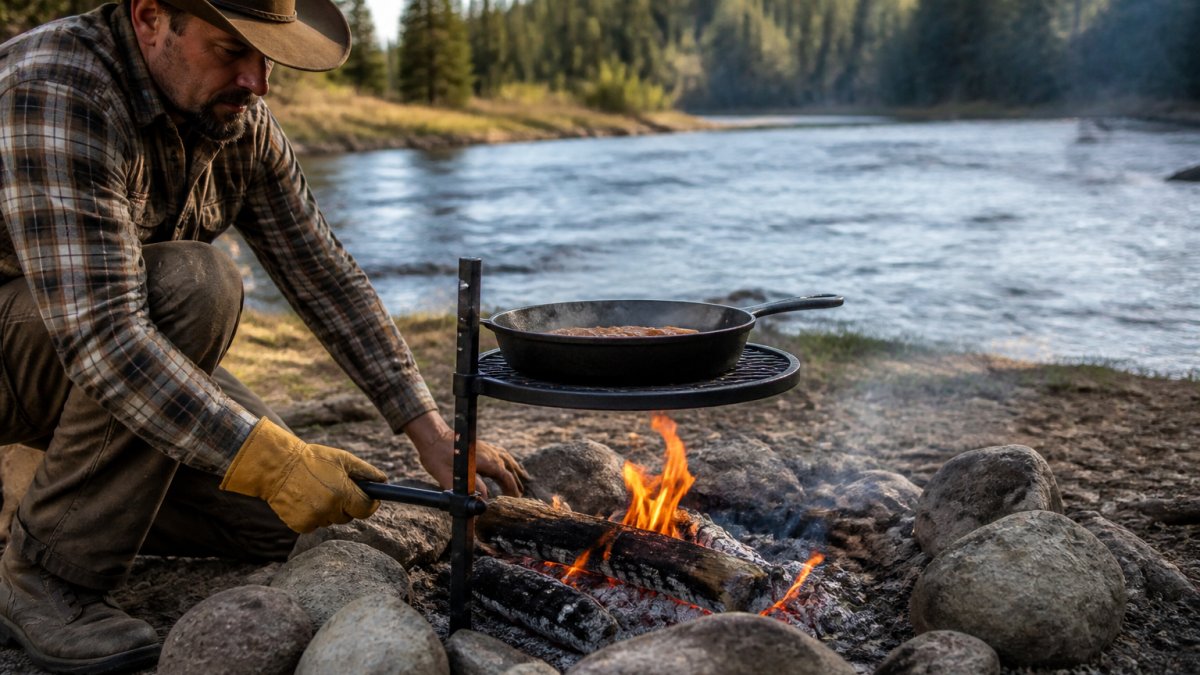
Open-fire cooking is the most versatile. Cast iron works directly over flames and coals, suiting long stationary trips. Browns Outpost's gear handles direct fire and holds heat exceptionally well.
Camp stoves are compact and controllable, working well for quick meals and side dishes.
Portable grills offer middle ground between open fire and stove setups. Consider weight and space; a grill taking up half your vehicle is impractical for backpacking.
Camp Kitchen Essentials You Need to Pack
Focus on gear you'll actually use. Overpacking wastes space and weight.
Core cookware for backcountry meals
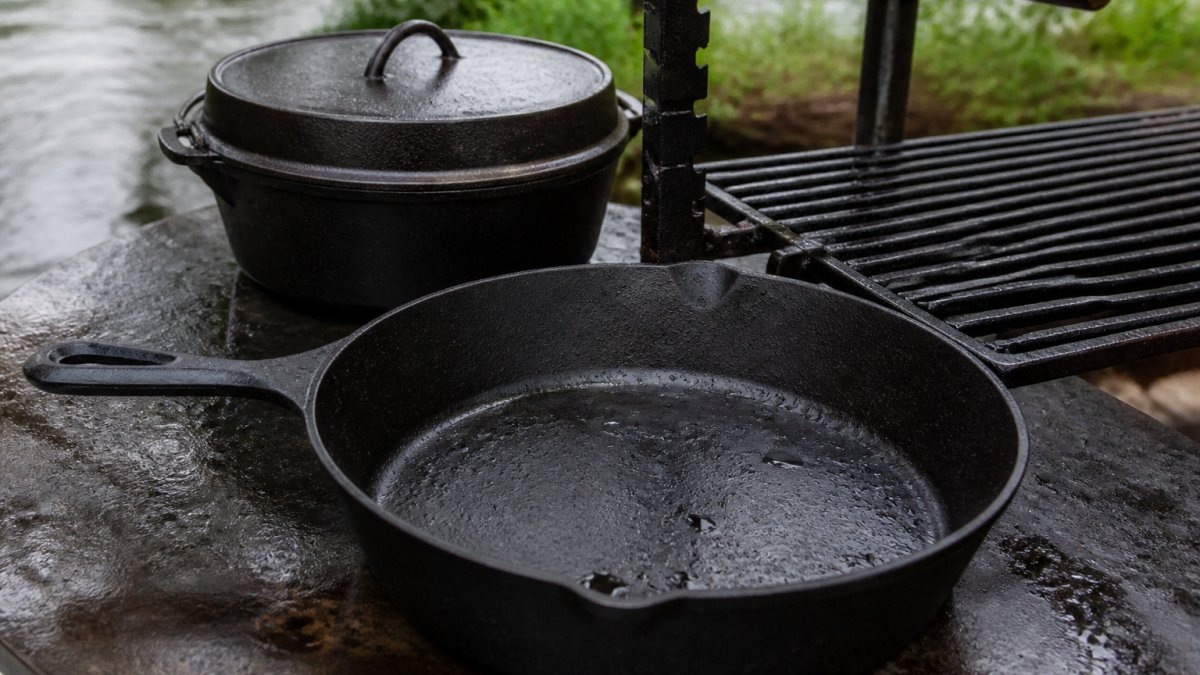
Cast iron is the foundation; it conducts heat evenly, lasts forever, and works over any heat source. A 12-inch Dutch oven handles braised meats, stews, and baked bread.
Skillets are your daily workhorse. The Browns Outpost 3-Piece Fry Pan Set covers three sizes: 10, 8, and 6 inches. The 10-inch handles full meals. The 8-inch cooks sides. The 6-inch melts butter or fries a single egg. They nest together, saving space.

A sauce pan with a lid is essential for simmering rice, beans, and sauces without scorching.
One large pot handles boiling water for pasta or washing dishes.
Utensils, tools, and prep equipment
Pack these essentials:
- Long-handled spatula and tongs for fire safety
- Wooden spoon for stirring
- Sharp knife for prep work
- Cutting board (lightweight plastic works)
- Can opener
- Measuring cups and spoons
- Heat-proof gloves or mitts
- Tongs for moving coals
Label everything with a permanent marker to prevent confusion and speed cleanup.
Camp Kitchen Storage Ideas for Gear Organization
Storage bins transform chaos into a working kitchen. Organize by function.
Using storage bins and crates for easy access
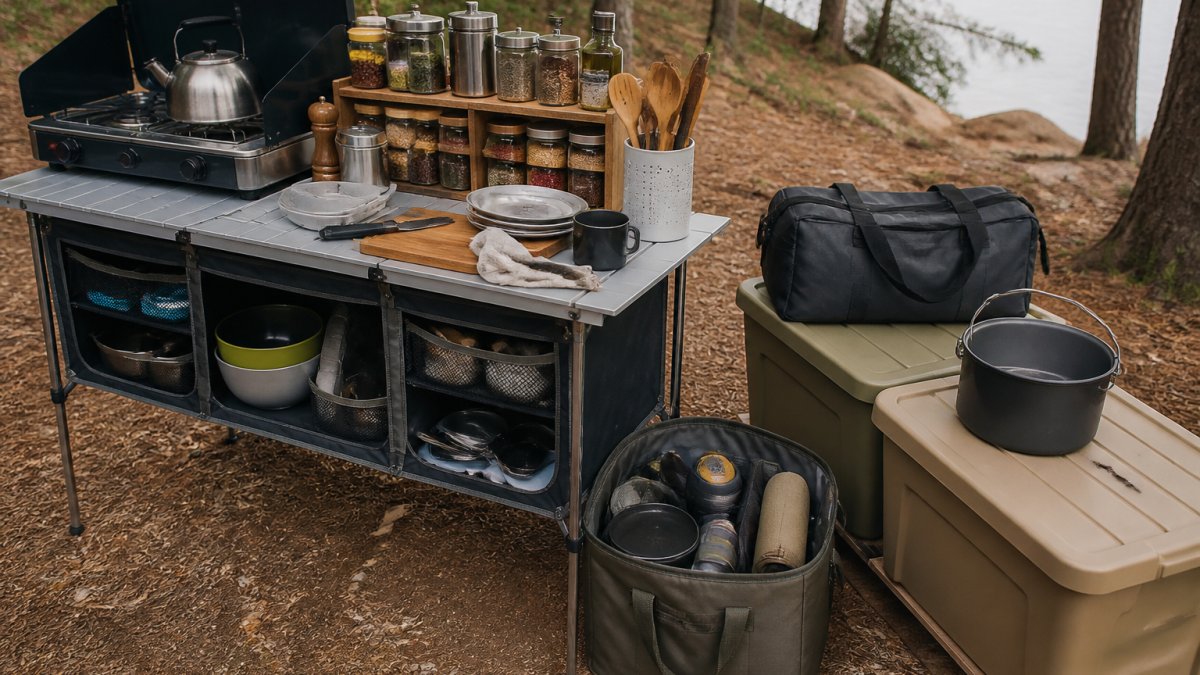
Buy plastic storage crates or bins and label each one: cookware, utensils, spices and seasonings. This system saves time and prevents lost items.
Nest cast iron skillets in a larger bin with cloth between pieces to prevent rust and scratching.
Use small containers with tight lids for spices, salt, and cooking oil to prevent spills.
A separate bin for cleaning supplies keeps dish soap, scrubbers, and towels together.
Labeling and grouping by cooking function
Label every bin clearly with waterproof labels or permanent marker so anyone can find what they need.
Group items by use: breakfast items in one bin, lunch prep in another, dinner cookware together. This reduces trips to storage.
Keep frequently used items (coffee, cooking oil, salt) at eye level or in front. Bury specialty items deeper.
| Storage Category | Contents | Access Priority |
|---|---|---|
| Cookware | Dutch oven, skillets, sauce pan | High (daily) |
| Utensils | Spatula, tongs, spoon, knife | High (daily) |
| Spices & Oil | Salt, pepper, cooking oil, seasonings | High (daily) |
| Cleaning | Soap, brush, towels, sponge | Medium (after meals) |
| Specialty Gear | Extra lids, trivets, long forks | Low (occasional) |
Camping Food Storage for Long Trips
Food storage on a long trip differs from a weekend outing. Perishables spoil over days, dry goods attract pests. Organization prevents waste and foodborne illness.

Keeping perishables safe over multiple days
Use two separate coolers: one for perishables (meat, dairy, fresh vegetables) and one for beverages.
Temperature management: Use ice blocks instead of loose ice; they last 2-3 times longer and don't leave standing water.
Opening discipline: Minimize cooler visits to two or three per day. Plan meals so you grab all ingredients at once.
Perishable rotation: For trips longer than five days, use fresh meat, dairy, and vegetables for days one through four.
Cross-contamination prevention: Store raw meat on the lowest cooler shelf, away from ready-to-eat foods. Use separate cutting boards for raw meat and vegetables.
Organizing dry goods and non-perishables
Dry goods last the whole trip if stored correctly.
Labeling and dating: Label every container with contents and packing date using a permanent marker. This prevents mystery items and helps you track consumption for future trips.
Running inventory: Keep a small notebook in your cooking zone. Note what you used each day so you know remaining supplies and can adjust portions if needed.
Storage location: Keep dry goods in a cool, dry place away from direct sunlight and cooking heat. A ventilated bin under a tarp works well.
Wildlife and pest prevention: Store all food away from your sleeping area. Use bear canisters or bear bags in bear country.
Daily resupply and restocking routine
Each morning: Inspect cooler contents for spoilage, check temperature, add ice if needed, and pull out ingredients for the day.
Each evening: Note what you used and count remaining perishables. Adjust meal plans if you're running low on fresh items.
Resupply days: Plan a resupply day before you go. List what you need and buy only what you can store and use. Repack coolers with fresh ice and reset organized bins.
Create a Camp Kitchen Checklist for Every Trip
Understanding how to organize a camp kitchen for long trips means using a day-by-day system that prevents waste and keeps your group fed predictably by organizing not just what you'll cook, but when and how much.
Day-by-day meal and ingredient breakdown
Write your meals for each day including breakfast, lunch, dinner, and snacks. Create a simple table or spreadsheet that tracks:
- Date and meal (Day 1 Breakfast, Day 1 Lunch, etc.)
- Meal name (e.g., scrambled eggs and toast)
- Ingredients and quantities (e.g., 12 eggs, 1 loaf bread, butter)
- Perishable or shelf-stable (mark P or S)
- Cooler or dry storage (where it lives)
This structure lets you see the whole trip at once and adjust meals to spread perishables across the first half and shift to dried goods by day five or six.
Calculate quantities using this formula: protein amount = (number of people) × (ounces per person) × (number of servings). Write this down; don't estimate.
Review the list with your group and adjust for dietary restrictions, allergies, or preferences before you pack.
Pre-trip inventory and packing verification
One week before departure, test your camp stove, verify lids fit pots, and check that coolers seal properly.
Walk through your packing list item by item using a printed checklist or digital note.
Create a second checklist for daily resupply points. If you have store access mid-trip, note what you'll need and plan before you leave.
Pack logically: heavy items on the bottom, fragile items on top, frequently used items within reach.
Bring a small notebook and pencil to camp. Cross off meals and note what you actually used versus planned. This data improves future packing lists.
Set Up Your Cooking and Prep Zones at Camp
Designate three zones at your campsite: prep, cooking, and storage.
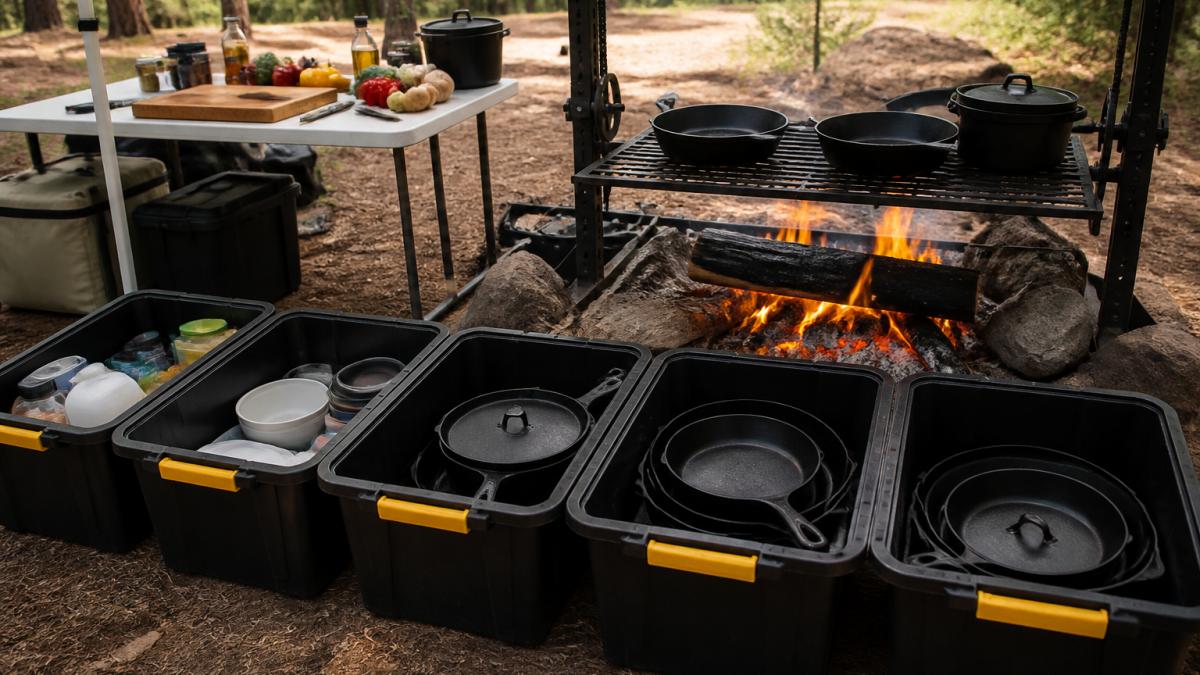
Designating prep, cooking, and storage areas
The prep zone is where you cut vegetables, measure ingredients, and assemble meals. Set up a table at waist height with cutting board, knife, and measuring tools.
The cooking zone is where heat happens. Keep cookware, utensils, and heat-proof gloves within arm's reach. Nothing else belongs here.
The storage zone keeps gear organized and accessible. Your labeled bins go here, away from the cooking fire, with coolers in the shade if possible.
Space these zones apart. Smoke from cooking shouldn't blow onto your prep area. Spills from prep shouldn't reach your storage.
Keeping frequently used items within arm's reach
Salt, pepper, cooking oil, and seasonings get used constantly. Keep them at the cooking zone, not buried in a storage bin. A small caddy or box holds these items and moves with you.
Heat-proof gloves, tongs, and spatulas hang from a hook or sit in a container at the cooking zone. You'll reach for these dozens of times per meal.
Cleaning supplies stay at the cooking zone too. Wash dishes immediately after cooking. Don't let them pile up. A basin of hot water and a brush take five minutes per meal.
Maintain Your Camp Kitchen Throughout the Trip
A working kitchen stays organized. Daily maintenance prevents problems from building.
Cleaning routines and waste management
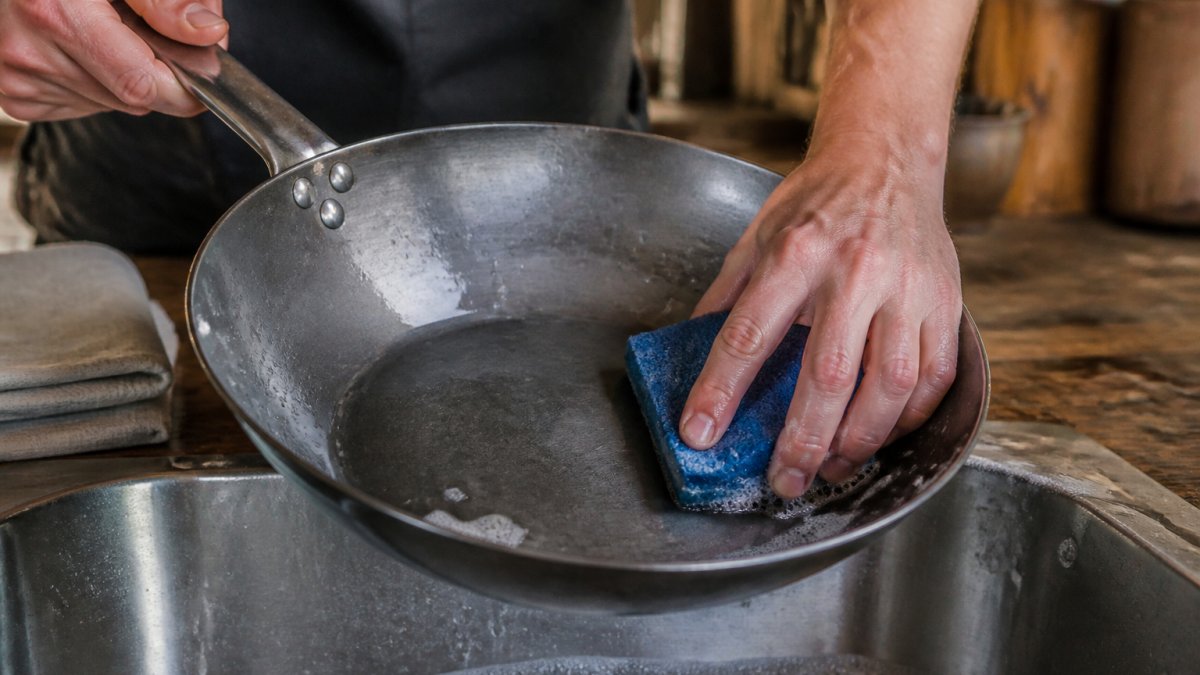
Wash dishes after every meal. Don't wait. Dried food is harder to clean and attracts pests. Heat water on your stove or fire. Use minimal soap. Rinse thoroughly. Dry immediately to prevent rust on cast iron.
Dispose of food waste properly. Pack out all trash. Bury compostable scraps away from camp if regulations allow. Never leave food scraps near your cooking area. They attract wildlife and insects.
Wipe down your prep surface and cooking area after each meal. A damp cloth takes two minutes and prevents buildup.
Restocking and resupply on extended trips
On trips longer than a week, you may need to resupply. Plan this before you leave. Know where the nearest store is. Know when you'll need fresh food.
Keep your inventory updated. Cross off items as you use them. By day five of a ten-day trip, you should be halfway through your supplies. If you're not, adjust portion sizes or plan meals differently.
On resupply days, repack your coolers with fresh ice. Replace perishables. Top off dry goods. Reset your organized bins so everything is accessible again.
Organizing a camp kitchen for long trips comes down to planning before you leave and maintaining systems while you're there. Start with the right gear.
Frequently Asked Questions
What should I include in a camp kitchen checklist for a week-long trip?
A camp kitchen checklist for long trips should cover cookware (dutch ovens, fry pans, sauce pan), utensils (spatulas, tongs, knives), storage containers, food items organized by meal, cleaning supplies, and safety gear. Break it down day-by-day so you know exactly what meals you're cooking and what ingredients you need each day. Verify everything is packed before you leave, then do a final check at camp setup.
How do you keep food safe in a camp kitchen on extended camping trips?
Keep perishables in insulated coolers with ice or ice packs, replacing ice every 24-48 hours depending on temperature. Store raw meat separately from ready-to-eat foods. Keep foods in airtight containers to prevent contamination and animal access. For trips longer than 3-4 days, plan resupply stops or rely more on shelf-stable items like dried pasta, canned goods, and freeze-dried meals. Always cook meat to safe temperatures and store leftovers in sealed containers.
What are the best camp kitchen storage ideas for keeping gear organized?
Use labeled storage bins or crates to group gear by function: one for cookware, one for utensils, one for dry goods, one for cleaning supplies. Nest smaller items inside larger cast iron pieces to save space. Keep frequently used items in the most accessible bin and less-used items toward the back. Label everything clearly so anyone at camp can find what they need quickly without rummaging through every container.
Do I need heavy-duty cast iron cookware for a camp kitchen on long trips?
Cast iron is ideal for long camping trips because it holds heat evenly, works over open fire or coals, and lasts a lifetime with proper care. A 12-inch dutch oven handles group meals and slow-cooked dishes, while a 3-piece fry pan set covers breakfast and sides. The Browns Outpost 12-inch dutch oven ($52.99) and 3-piece fry pan set ($47.99) provide the versatility you need without overpacking. Cast iron requires hand-washing and oiling after each use, but that's a small price for durability and performance.