 how-to
How to Season Carbon Steel Cookware: Step-by-Step
Table of Contents
- Why Seasoning Carbon Steel Cookware Matters
- What You'll Need Before You Start
- Removing Protective Factory Coating
- Choosing the Best Oil for Seasoning Carbon Steel
- Stovetop vs. Oven Seasoning Methods
- How to Clean Carbon Steel Pan After Cooking
- How to Remove Rust from Carbon Steel
- Maintaining Your Seasoning Long-Term
Last Updated: August 20, 2026
Why Seasoning Carbon Steel Cookware Matters
Seasoning carbon steel cookware builds a protective non-stick surface that improves with every use. Unlike factory-coated cookware that deteriorates, a well-seasoned carbon steel pan becomes more durable and easier to cook with over time. The process creates a polymerized oil layer through heat, turning raw metal into a kitchen workhorse.
Many outdoor enthusiasts overlook seasoning, assuming their new pan is ready to cook. Factory coating protects the metal during shipping but interferes with proper seasoning. Without removing it and building your own protective layer, you'll struggle with sticking food and rust formation, especially in damp camping conditions.
A properly seasoned carbon steel pan develops a patina that rivals cast iron, handles high heat better than non-stick cookware, and lasts a lifetime with basic maintenance. At Browns Outpost, we craft carbon steel cookware specifically for this durability. Seasoning also prevents rust, which is critical when cooking over open fire or storing gear in humid conditions. A polymerized oil layer eliminates oxidation risk entirely.
What You'll Need Before You Start
Gather these essentials before beginning: a carbon steel pan, neutral oil with a high smoke point, paper towels, and access to heat. The oil choice determines your success, neutral oils with smoke points above 190°C polymerize cleanly without excessive smoking or burnt residue.
Essential supplies:
- Carbon steel cookware (new or needing re-seasoning)
- Neutral cooking oil (grapeseed, avocado, or canola oil work best)
- Paper towels or clean cloth for buffing
- Dish soap and a scrub brush for degreasing
- Heat source (stovetop, oven, or open fire)
- Optional: beeswax for additional protection
Grapeseed oil and avocado oil are excellent choices because they create a durable finish and won't impart flavor. Canola oil works in a pinch but produces slightly less durable seasoning. Paper towels are critical for applying thin layers, many people make the mistake of using too much oil, which creates a sticky surface instead of a hard protective layer. Thin application is the key to building proper seasoning.
Removing Protective Factory Coating
Your new carbon steel pan arrives with a factory coating that prevents rust during storage and shipping. This protective layer must be removed before seasoning begins, as it blocks oil from bonding to the metal.
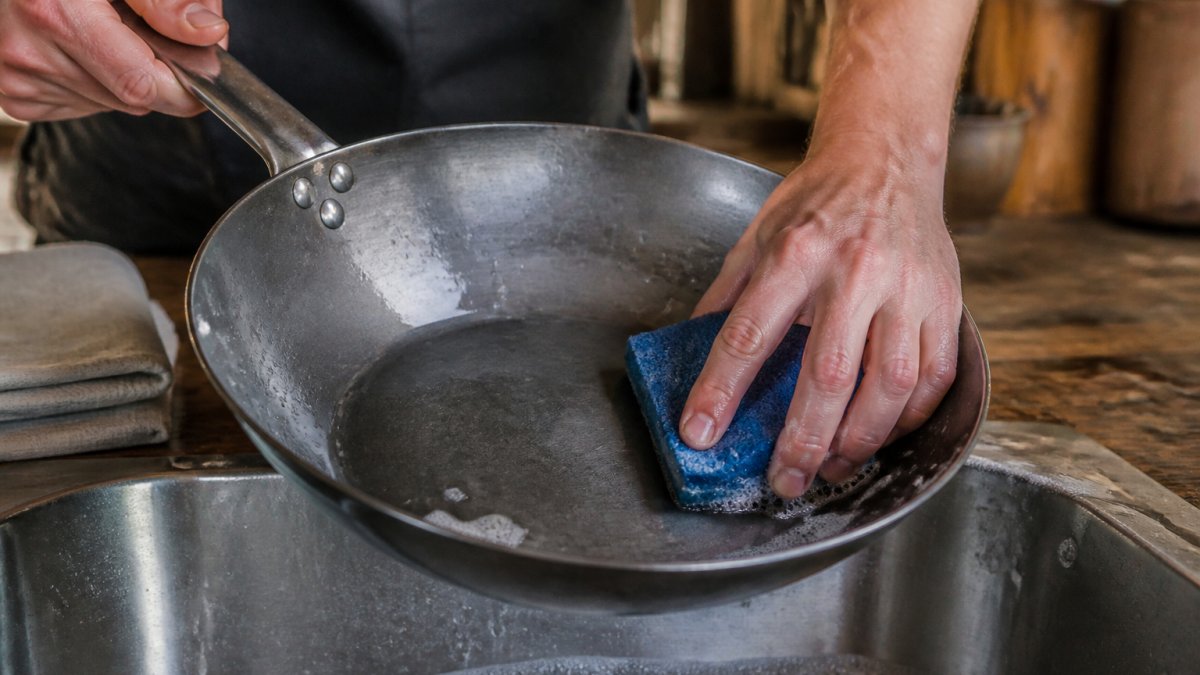
Scrub the entire surface, top, bottom, and sides, with hot soapy water and a stiff brush. Use enough pressure to remove the visible coating. You'll notice the water beading differently once the coating is gone; it'll sheet across the bare metal instead of pooling. For stubborn coatings, use steel wool pad with extra elbow grease.
Rinse thoroughly with hot water and dry immediately with a clean cloth. Any moisture left behind will begin oxidation. Pat the pan completely dry, then place it on a warm burner for 30 seconds to evaporate any remaining water.
Choosing the Best Oil for Seasoning Carbon Steel
The best oil for seasoning carbon steel cookware has a high smoke point and polymerizes effectively. Smoke point, the temperature at which oil breaks down and smokes, determines whether your seasoning layer forms or burns away.
Top oils for seasoning carbon steel:
- Grapeseed oil (smoke point 200°C)
- Avocado oil (smoke point 204°C)
- Canola oil (smoke point 200°C)
- Vegetable oil (smoke point 205°C)
Avoid butter, olive oil, and coconut oil. Butter has a low smoke point and leaves burnt residue. Olive oil smokes too easily and imparts flavor. Coconut oil leaves a sticky layer instead of polymerizing properly.
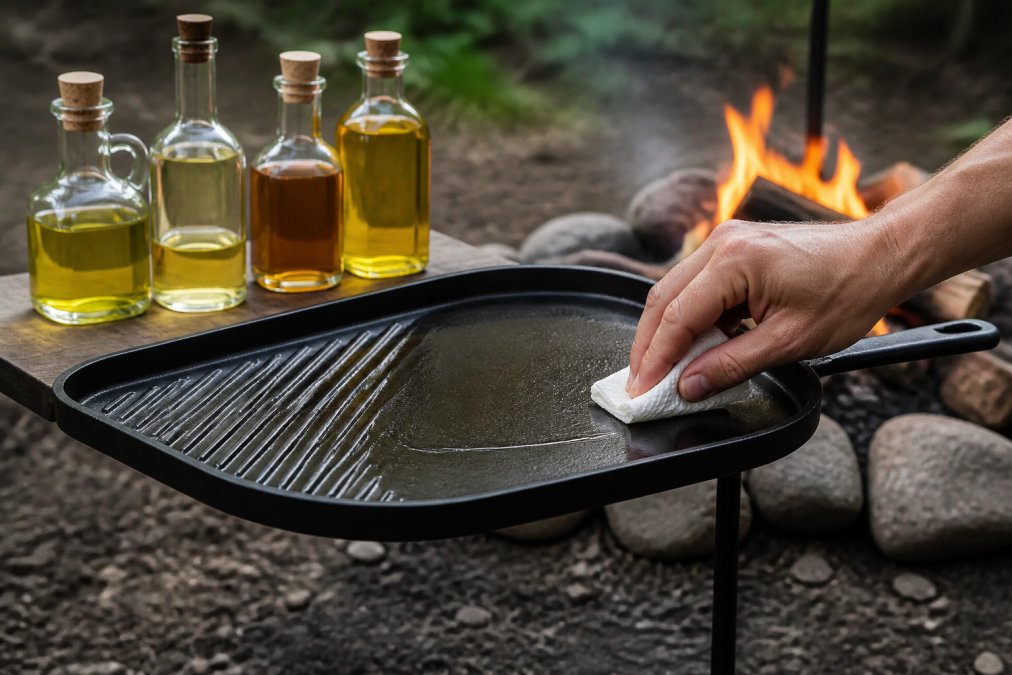
Grapeseed oil is the gold standard for carbon steel seasoning. It polymerizes cleanly, creates a durable finish, and won't affect food taste. Avocado oil performs similarly and handles the intense heat of open-fire cooking exceptionally well. The application method matters as much as the oil choice, apply a very thin layer, so thin you might think you've missed spots. Thick oil layers create sticky, uneven seasoning that flakes off.

Stovetop vs. Oven Seasoning Methods
Two primary methods build seasoning on carbon steel: stovetop and oven seasoning. Each approach has advantages depending on your equipment and situation.
Stovetop Seasoning
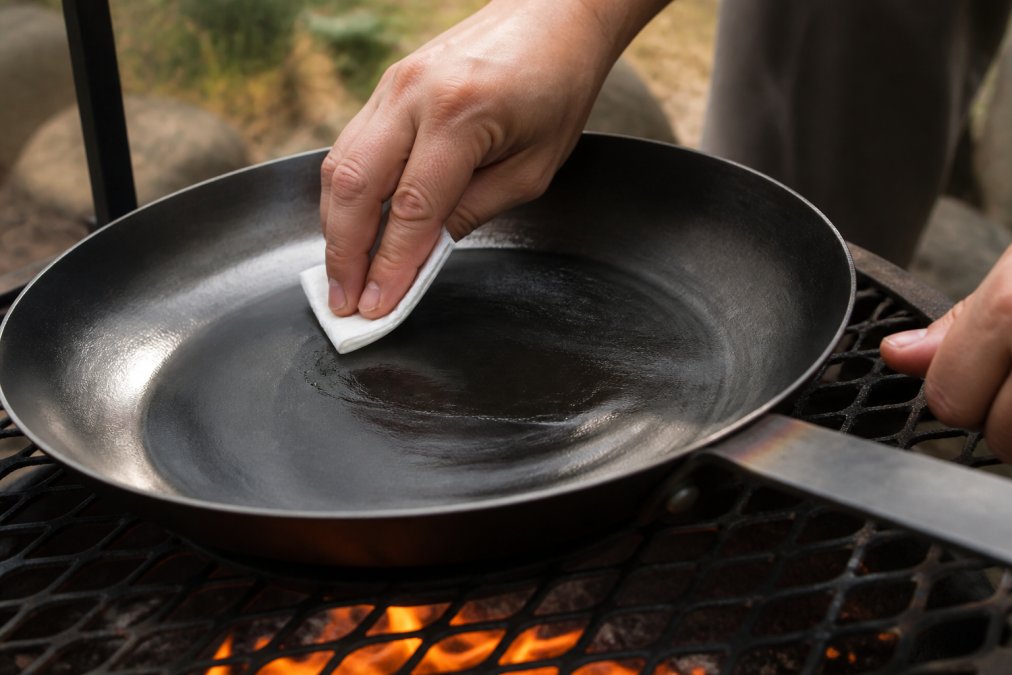
Stovetop seasoning creates seasoning through direct heat and manual buffing. This method works over a camping stove, home burner, or open fire, making it ideal for outdoor enthusiasts who want to season cookware immediately after purchase.
Steps for stovetop seasoning:
- Heat the dry pan over medium-high heat for 2-3 minutes until it's warm to the touch
- Apply a thin layer of neutral oil to the entire surface using a paper towel
- Buff the oil thoroughly with a clean paper towel until the pan looks almost dry
- Continue heating for another 1-2 minutes until the oil begins to smoke slightly
- Remove from heat and let cool completely
- Repeat this process 3-5 times in a single session
The buffing step is critical, after applying oil, you must buff it until the pan appears nearly dry. This removes excess oil and leaves only a microscopically thin layer that polymerizes properly. Stovetop seasoning builds seasoning quickly but requires patience and repetition. Each cycle adds a thin layer of polymerized oil. Multiple cycles in one session create better results than spreading them across days.
When oil reaches its smoke point, polymerization accelerates. You want the oil to smoke slightly, indicating the chemical reaction is occurring. Don't let it smoke heavily or burn, but a light wisp of smoke is the target.
Oven Seasoning
Oven seasoning builds seasoning through consistent, controlled heat. This method works best at home where you can control oven temperature precisely, creating more uniform layers and building thicker seasoning faster than stovetop methods.
Steps for oven seasoning:
- Preheat your oven to 230°C
- Apply a thin layer of neutral oil to the entire pan surface
- Buff the oil thoroughly until the pan appears almost dry
- Place the pan upside down on the top oven rack (put foil on the bottom rack to catch drips)
- Bake for 15-20 minutes until the oil polymerizes and the pan develops a slight heat tint
- Remove and cool completely
- Repeat 5-8 times for solid seasoning foundation
Oven seasoning's main advantage is consistency, the controlled temperature ensures even polymerization across the entire surface. You don't have to monitor the pan; set it and let the oven do the work. The upside-down placement prevents oil from pooling in the center. The foil on the lower rack catches any drips before they damage your oven.
Seasoning Over Open Fire
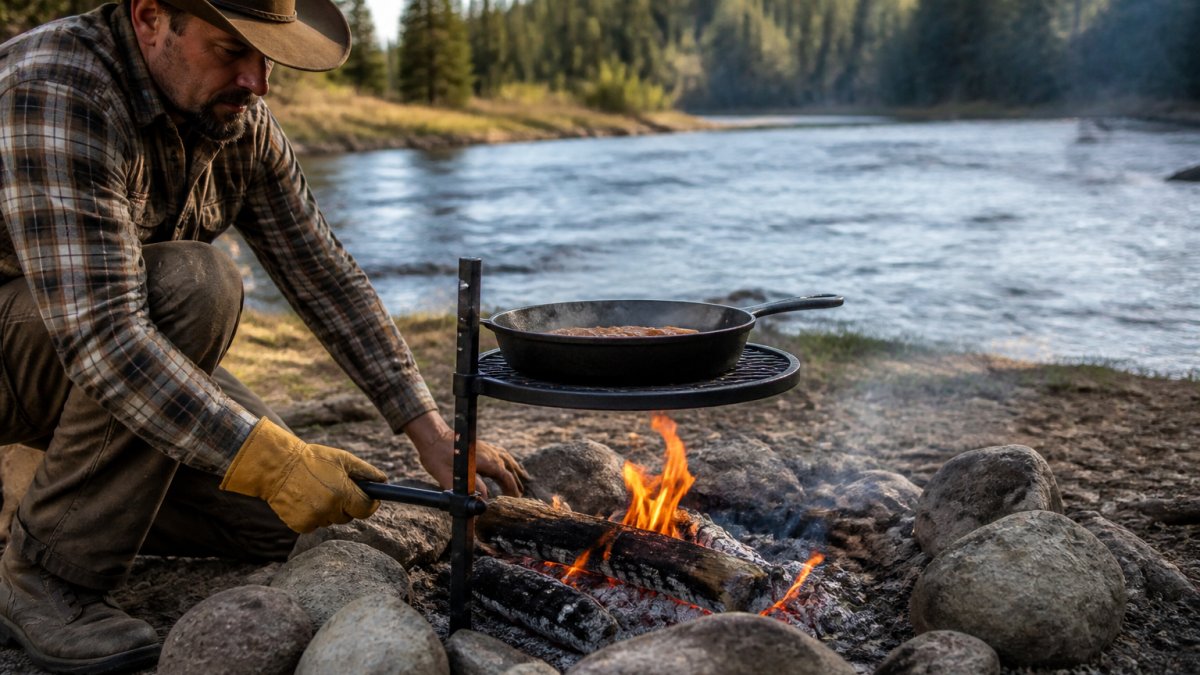
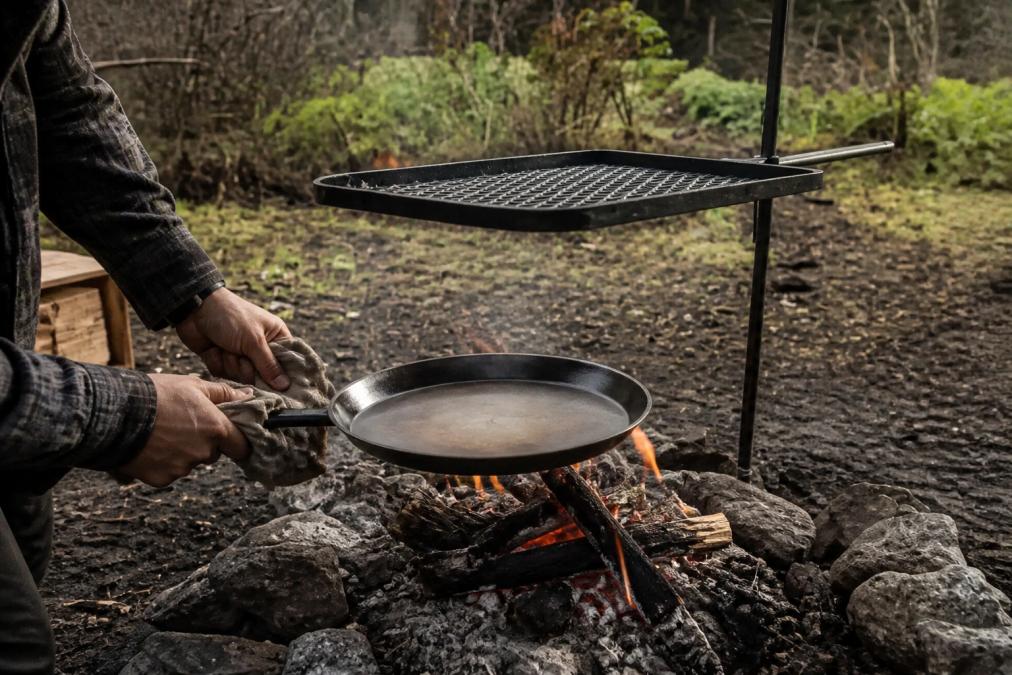
Open-fire seasoning works for campers who want to season cookware at the campsite. Hold the pan 15-20 centimeters above the flames using a stick or grill grate. Apply a thin layer of oil and let the heat polymerize it. The flames should lick the bottom of the pan but not engulf it.
Open-fire seasoning works best with high smoke point oils like grapeseed or avocado oil. Expect the pan to develop significant heat tint, indicating proper polymerization. Repeat the process 3-4 times per session. If the oil smokes heavily or turns black, you've applied too much or held the pan too close to the flames.
How to Clean Carbon Steel Pan After Cooking
Proper cleaning maintains your seasoning and prevents rust. Clean the pan right after cooking while it's warm, using minimal water, and dry thoroughly.
Clean immediately after cooking before food residue hardens. Warm water and a soft brush or cloth remove most food particles. Avoid soaking the pan, as prolonged water exposure breaks down seasoning. For stubborn stuck food, add a small amount of neutral oil to help loosen residue, then scrub gently.
Dry the pan completely with a clean cloth immediately after washing. If you're concerned about rust, place the warm pan on a burner for 15 seconds to evaporate any remaining moisture. Many experienced cooks skip soap entirely and clean with just hot water and a brush. If you use soap, choose mild dish soap and use sparingly.
How to Remove Rust from Carbon Steel
Rust happens despite your best efforts, especially in humid camping conditions. The good news: rust on carbon steel is surface-level and easily removed. Light surface rust appears as brown or orange discoloration. Remove it with a stiff brush, steel wool pad, or scrub brush under running water.
For heavier rust, use a steel wool pad with vinegar. The acidity helps dissolve rust while the steel wool removes it mechanically. Once the rust is gone, re-season that section immediately to prevent it from returning.
Prevent rust by maintaining your seasoning and storing the pan in a dry location. If you're camping in wet conditions, wipe the pan dry after each use and store it with a light coat of oil.
Maintaining Your Seasoning Long-Term
Seasoning improves with use. Every time you cook with fat or oil, you add microscopic layers to your protective coating. This is why seasoned carbon steel becomes easier to cook with over months and years.
Avoid cooking acidic foods like tomatoes or vinegar-based sauces on new seasoning, as acid breaks down the polymerized oil layer. Once your seasoning is thick and established (after 20-30 cooking sessions), acidic foods cause minimal damage.
Store your pan in a dry location. If you're in humid climates or storing gear for extended periods, apply a light coat of oil before storage. Check your seasoning periodically for signs of wear. If food begins sticking more than usual or you notice dull spots, it's time to re-season. Add 2-3 seasoning cycles using your preferred method to restore the protective layer.
Re-seasoning is simple and takes 30 minutes to an hour. You don't need to remove old seasoning; new layers bond to the existing coating and strengthen it. Many cooks re-season their pans 2-3 times per year, depending on use frequency. Unlike non-stick cookware that degrades over time, properly maintained carbon steel actually improves.
Seasoning carbon steel cookware isn't complicated, but it requires attention to detail. The process builds a protective layer that transforms raw metal into reliable cooking equipment. Whether you're seasoning a new pan at home or maintaining one at the campsite, the fundamentals remain the same: thin oil layers, proper heat, and thorough drying.
Browns Outpost crafts hand-crafted raw carbon steel cookware that responds beautifully to proper seasoning. Our Lifetime Warranty ANVIL Grill ($174.99 CAD) pairs perfectly with seasoned carbon steel cookware for complete open-fire cooking control. Once you've mastered seasoning, you'll have cooking equipment that handles any condition, from backyard grilling to remote wilderness camps. Get started with Browns Outpost and build seasoning that lasts a lifetime.
Frequently Asked Questions
Should carbon steel pans be seasoned?
Yes. Seasoning creates a polymerized non-stick surface and prevents rust. Raw carbon steel requires seasoning before use to build a protective layer. Each time you cook, you add to this patina. Without seasoning, your carbon steel pan will rust and food will stick. Think of it as building a natural non-stick coating that improves with use.
What is the best oil for seasoning carbon steel?
Neutral oils with high smoke points work best: grapeseed oil, avocado oil, or refined vegetable oil. These oils polymerize cleanly at high heat without leaving residue. Avoid olive oil and butter, which have low smoke points and break down before polymerization occurs. Apply a thin layer only, excess oil creates sticky buildup instead of a smooth patina.
How do I know if my carbon steel pan is properly seasoned?
A well-seasoned pan has a dark, matte patina and food releases easily without sticking. Run your hand across the cooking surface, it should feel smooth, not rough or sticky. The color deepens over time from light brown to dark charcoal. If eggs stick or rust spots appear, re-season using the stovetop or oven method until the non-stick surface improves.
Do I need to season a carbon steel pan every time I cook?
No, but light maintenance helps. After each use, wipe the pan with a thin layer of oil while it's still warm. This adds to your existing seasoning without requiring a full seasoning cycle. Full seasoning cycles (stovetop or oven methods) are needed only when building initial patina or restoring a damaged surface. Regular cooking naturally builds seasoning over time.
This article was written using GrandRanker