 how-to
How to Season Cast Iron Campfire Grates (2026 Guide)
Table of Contents
- Why Your Campfire Grates Need a Seasoned Finish
- Gather Your Seasoning Supplies
- How to Clean Rusted Campfire Grates First
- Step-by-Step: How to Season Cast Iron Campfire Grates
- Choosing the Best Oil for Cast Iron Seasoning
- Troubleshooting: Sticky Grates and Other Problems
- Cast Iron Maintenance Tips for the Campsite
- Final Thoughts on Seasoning
- Frequently Asked Questions
Last Updated: September 6, 2026
A freshly seasoned cast iron campfire grate is the difference between a steak that releases cleanly and one that tears apart. Seasoning is the ongoing process of building a polymerized protective barrier that gives the iron its non-stick surface and shields it from corrosion. In this guide from Browns Outpost, we break down how to season cast iron campfire grates so your cooking surface performs trip after trip.
The science is straightforward: when oil is heated past its smoke point on iron, it triggers polymerization, bonding into a hard, plastic-like coating. The more you cook, the better the surface gets. Below, we walk through cleaning rust, choosing the right oil, and applying the layer correctly, then cover troubleshooting and maintenance tips.
Why Your Campfire Grates Need a Seasoned Finish
Bare cast iron is porous and highly reactive. Exposed to moisture and oxygen, the surface begins to oxidize within hours, forming rust that flakes onto your food and pits the metal. A proper seasoned cast iron layer stops that process cold by sealing the pores with polymerized oil, creating a slick, rust-resistant cooking surface that improves with every use.
A common mistake is treating a new grate like it is ready to cook on. Factory grates carry a protective wax or machining oil that must be stripped first; skipping this leaves a gummy residue and prevents seasoning from bonding. A well-seasoned grate delivers better heat distribution, easier cleanup, and food that releases without a fight.
Gather Your Seasoning Supplies
Before you start, collect everything in one place. You will need a wire brush or stiff scraper for cleaning, steel wool for rust removal, a lint-free cloth or paper towel, and a high-smoke-point oil. The oil choice matters more than most people realize, so pick one that can handle the heat of a campfire without burning off too fast.
For the actual seasoning, a neutral flavor oil is essential so it does not impart a taste to your food. Many campers keep a dedicated bottle of seasoning oil in their gear bin, separate from their cooking oil. Browns Outpost sells a 10" shallow skillet and a 16"x9" griddle that arrive ready for their first season, and the same oil you use on those works perfectly on your campfire grill grates. You will also want a pair of heat-resistant gloves and tongs to handle the hot iron safely.

How to Clean Rusted Campfire Grates First
Seasoning over rust is a wasted effort, since the flaking oxide prevents the oil from bonding to the metal. Start by scrubbing the grate with a wire brush to remove loose debris and carbon buildup. For heavier rust, use coarse steel wool and a little elbow grease, working the surface until the reddish-brown flakes are gone and the metal looks gray and dull.
If the grate has sat outside for months, wash it with soapy water and a stiff brush, then rinse and dry it completely. Dry the iron immediately, since lingering moisture causes flash rust. Place the cleaned grate over a low fire or in the sun for a few minutes to drive off remaining water, then move to the oiling step.
| Problem | Fix | Impact |
|---|---|---|
| Light surface rust | Steel wool scrub, dry fully | Clean base for seasoning |
| Heavy carbon buildup | Wire brush, soapy water wash | Removes old flaking layers |
| Sticky or gummy surface | Strip with high heat, re-oil thin | Smooth, non-stick finish |
| Flash rust after washing | Reheat grate to dry completely | Prevents oxidation before oiling |
Step-by-Step: How to Season Cast Iron Campfire Grates
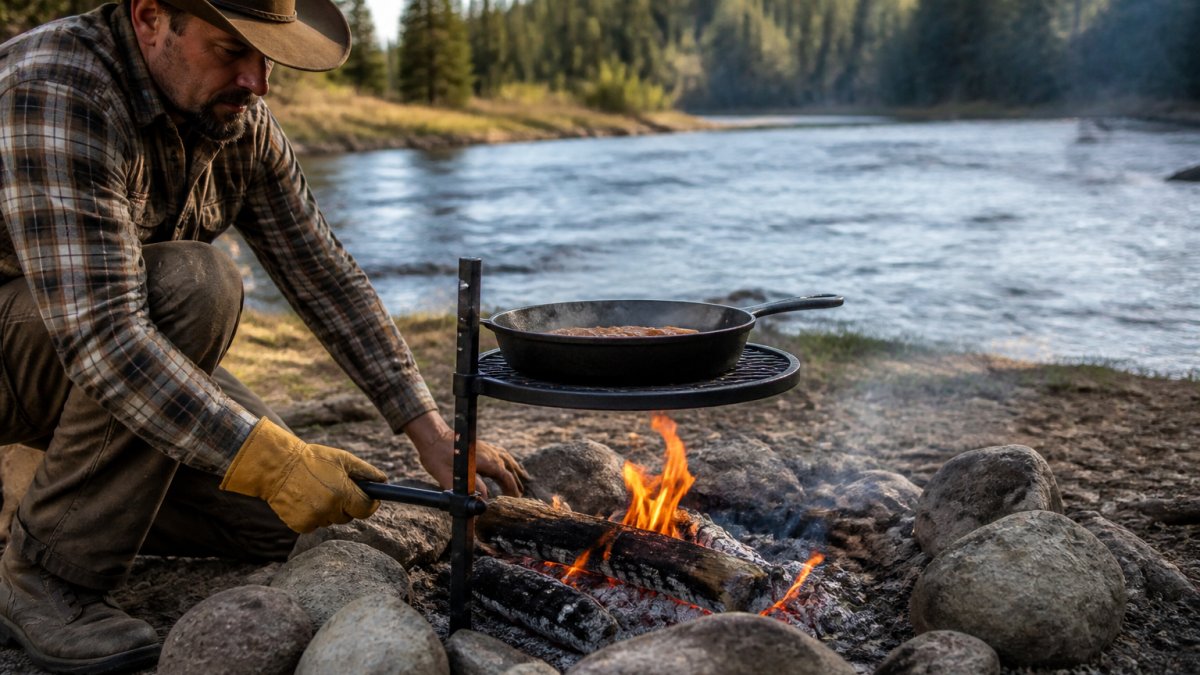
Seasoning over a campfire is not the same as using a kitchen oven. A campfire's heat is uneven, prone to flare-ups, and influenced by wind and fuel type. Here is the method that works when your heat source is burning wood.
Step 1: Build a Bed of Coals, Not Flames
The biggest mistake is seasoning over open flames, which create hot spots that burn the oil before it polymerizes. Build a fire and wait until you have a deep bed of glowing coals, 30 to 45 minutes with hardwood. Rake the coals into a flat, even bed slightly larger than your grate; radiant heat is far more consistent than flame contact.
Step 2: Preheat the Grate Over the Coals
Place the clean, dry grate on a sturdy grill stand or two flat rocks at the edges of the coal bed, 4 to 6 inches above the coals. Let it warm for 5 to 7 minutes, warm enough that a drop of water sizzles instantly, but not so hot that oil smokes on contact. This drives off residual moisture and opens the iron's pores.
Step 3: Apply the Oil in a "Wipe-On, Wipe-Off" Motion
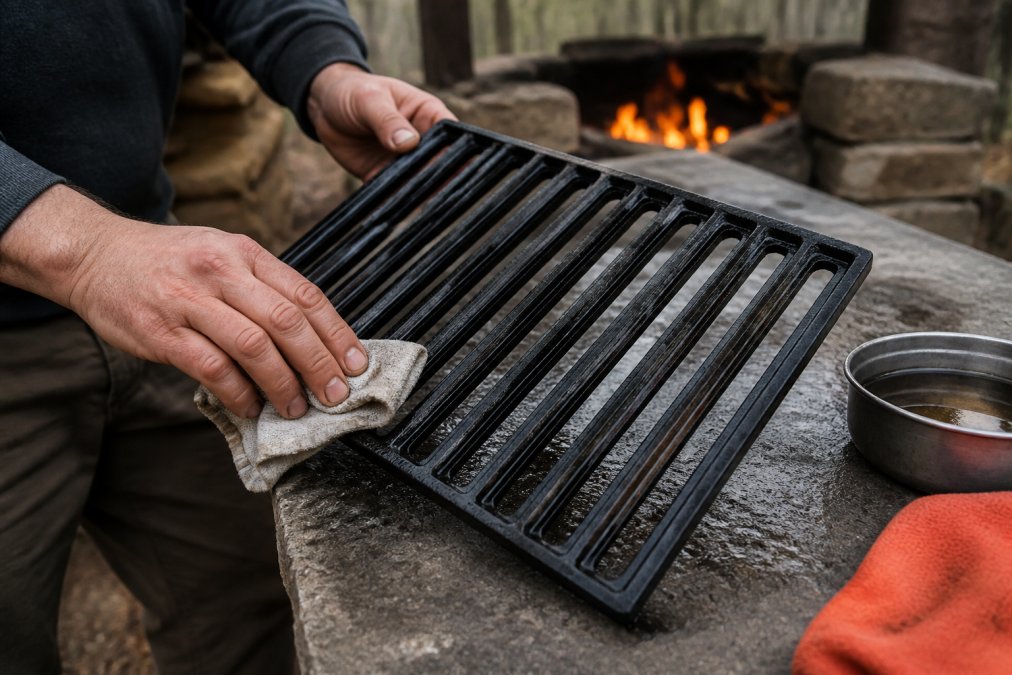
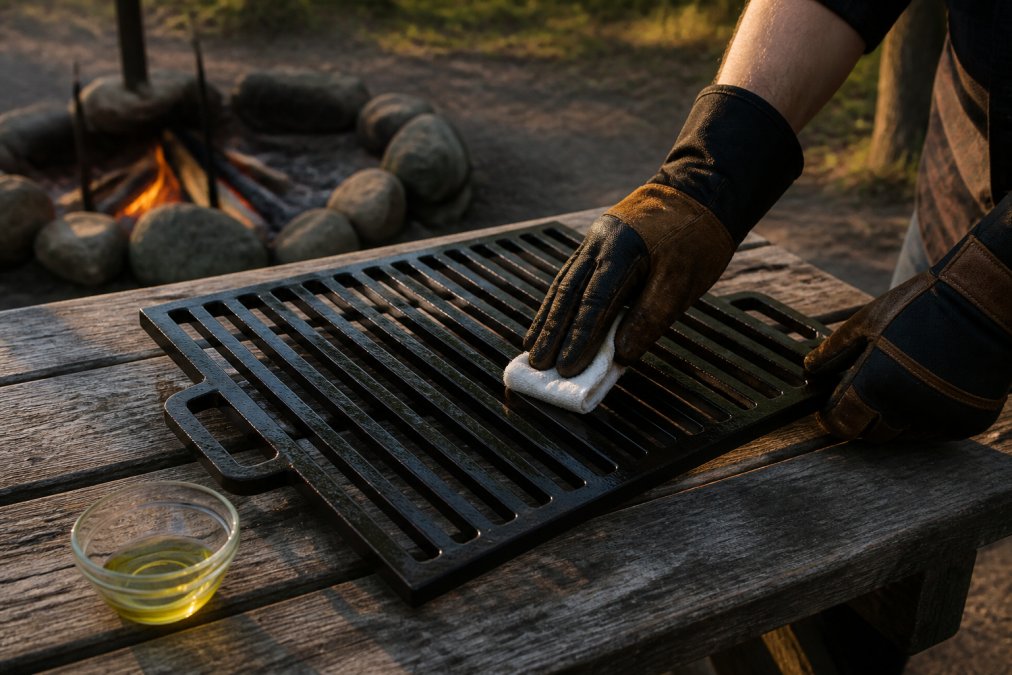
Using a lint-free cloth folded into a pad, apply a thin layer of oil to the entire surface, including the sides and undersides of the bars. The coat should look almost dry; excess oil is the primary cause of sticky grates. Wipe away any pooling or drips immediately. Apply oil to a warm, not hot, grate so it spreads evenly before polymerization.
Step 4: Manage the Heat for Polymerization
You need the grate to reach the oil's smoke point and hold there for several minutes. With a coal bed, position the grate closer to the coals (3 to 4 inches) for the smoking phase. The oil will shimmer, then smoke; that smoke is polymerization in action. Let it smoke for 10 to 15 minutes, rotating 90 degrees every few minutes to compensate for hot spots.
Keep a small spray bottle of water nearby. If a flare-up occurs or a section smokes excessively, a quick mist on the fire around that area knocks down the temperature without dousing your coals.
Step 5: Cool, Inspect, and Repeat
Allow the grate to cool completely; this can take 20 minutes. Once cool, the surface should feel smooth and dry, not tacky. If sticky, you applied too much oil or the heat was too low; reheat and burn it off. Repeat the oil and heat cycle two to three more times; three thin coats are the minimum for campfire conditions.
A Note on Wind and Weather
Wind cools the grate unevenly and can blow ash onto your oiled surface. Position your fire so a natural windbreak—a large rock, a cooler, or your vehicle—shields the grate. On windy days, hold a piece of aluminum foil as a temporary shield on the windward side.
Choosing the Best Oil for Cast Iron Seasoning
The best oil for cast iron seasoning is one with a high smoke point, a neutral flavor, and a high percentage of polyunsaturated fats, which polymerize most effectively. Flaxseed oil is a favorite among purists because it creates a very hard, durable finish, though it can be prone to flaking if applied too thick. Grapeseed oil and canola oil are excellent all-around choices that strike a good balance between cost, availability, and performance.
Avocado oil has the highest smoke point of the common options, making it ideal for the intense, uneven heat of a campfire. Vegetable shortening also works well and has been a staple of cast iron maintenance for generations. What you want to avoid are low-smoke-point oils like olive oil or butter, which burn before they polymerize, leaving a sticky residue that is difficult to remove. Whichever oil you choose, dedicate a bottle to seasoning so you always have it on hand at the campsite.
Troubleshooting: Sticky Grates and Other Problems
If your grate comes out sticky, the culprit is too much oil per layer. Place it back over high heat and let it burn off the excess until the surface returns to a dry, matte finish. Then cool, wipe down, and re-season with a much thinner coat.
Patchy seasoning usually means the heat was uneven during polymerization. Rotate the grate more frequently and move it to a hotter or cooler spot to balance temperature. If rust spots form in storage, scrub them with steel wool and apply a single touch-up coat of oil. For a rainy trip, a quick re-season before you pack up will save you from rust later.
Cast Iron Maintenance Tips for the Campsite
Cast iron maintenance on the trail comes down to three habits: clean it while hot, dry it completely, and oil it before storage. The frequency and method depend on how you camp; a weekend car camper has different needs than someone on a 10-day backcountry trip.
The "Hot Scrape, Hot Rinse, Hot Dry" Method
After cooking, scrape off food residue with a metal spatula while the grate is warm enough that grease is still liquid. Pour a small amount of hot water over the grate and use a stiff-bristle brush to remove remaining bits. Avoid soapy water unless the grate is truly filthy; hot water and a stiff brush handle the job without stripping seasoning.
Dry the grate immediately and completely. Place it back over low heat for 2 to 3 minutes to drive off all moisture. This step is non-negotiable; cast iron left to air-dry will develop flash rust within an hour in humid conditions. The Canadian Conservation Institute's guidance on metal artifact care reinforces that controlling moisture is the single most important factor in preventing corrosion on iron, a principle that applies just as well to your camp gear as to museum collections.
How Often to Re-Season: A Practical Schedule
Most campers do not need to fully re-season after every trip. A good rule of thumb:
- After every trip: Wipe the grate with a thin coat of oil before storage. This is a maintenance coat, not a full season.
- Every 3 to 4 trips: Do a single full seasoning cycle (clean, oil, heat to smoke point, cool). This replenishes the polymerized layer that cooking and cleaning slowly wear down.
- At the start of each season: If the grate has been in storage for more than 2 months, inspect for rust spots. If you see any, scrub them with steel wool and apply a full seasoning cycle before your first cookout.
- After a wet trip: If your grate got rained on or sat in a damp truck bed, do a full seasoning cycle as soon as you get home. Do not wait until your next trip.
Field-Expedient Rust Repair
If you are on a multi-day trip and spot rust forming, you do not need to wait until you get home. Scrub the rusted area with a small piece of steel wool or even a rough rock from the campsite. Wipe the area clean, then rub a drop of your cooking oil directly onto the bare spot. Heat that section over the fire for a few minutes until it smokes. This touch-up coat will stop the rust from spreading and keep the surface cooking-ready.
Storage: The Dry, Airy Rule
When you break camp, give the grate a final wipe with a thin coat of oil. Store it in a dry place, ideally hanging or elevated so air circulates. Avoid wrapping cast iron in plastic or a tight cover, which traps humidity and promotes rust. A breathable cotton sack or a loop of rope is better; if storing in a tote, add a silica gel packet or a small cloth bag of uncooked rice.
The Rainy-Trip Protocol
For trips where rain is forecast, do a quick re-season after your final cook: wipe on a thin coat of oil, let it smoke for 5 minutes, then let it cool. When you pack up, wrap the grate in a dry towel; it will absorb condensation that forms during temperature changes in the vehicle.
Browns Outpost backs its cast iron cookware with a lifetime warranty, so you can focus on the cooking. But even with a warranty, a few minutes of preventive care will keep your grate performing and save you from a full restoration later.
Final Thoughts on Seasoning
A properly seasoned campfire grate is the foundation of every good open-fire meal. Start with a clean surface, apply thin coats of a high-smoke-point oil, and let the heat do the work of polymerization. When you get it right, food releases easily, cleanup takes minutes, and the grate shrugs off damp morning dew.
The best time to season is before you need it, so give your grate a fresh cycle at home before your next trip. Pair it with quality cookware, and you will get years of reliable service. Get started with Browns Outpost and bring home a grate or pan built to last a lifetime.
Frequently Asked Questions
What is the best oil to season cast iron grill grates?
The best oil for cast iron seasoning has a high smoke point and neutral flavor. Flaxseed oil creates a very hard finish but can flake. Grapeseed and canola oil are reliable choices. Avocado oil has an extremely high smoke point, making it excellent for campfire grates that see intense heat. Avoid low-smoke-point oils like olive oil, which can leave a sticky surface. Regular seasoning with a high-heat oil keeps the protective barrier strong.
How often do you need to re-season cast iron grill grates?
Re-season your campfire grates when food starts sticking or you notice dull, gray spots where the seasoned finish has worn thin. For most campers, that means two to three times per season with heavy use. Always season before storing for the winter to prevent rust. If you see rust forming, you must remove it and complete a full seasoning cycle before the barrier is compromised. Periodic maintenance after each trip, even just a light oil coat after cleaning, extends the time between full seasonings.
Can you use vegetable oil to season cast iron?
Yes, vegetable oil works for seasoning cast iron campfire grates. It has a moderate smoke point around 230°C (450°F) and polymerizes into a decent protective layer. The main limitation is that it may break down faster under the intense, direct heat of a campfire compared to oils with higher smoke points like grapeseed or avocado oil. For best results, choose an oil with a smoke point above 260°C (500°F) and apply it in thin, even layers.
What are the signs that your campfire grates need re-seasoning?
Three clear signs indicate your campfire grates need re-seasoning. First, food starts sticking even after proper preheating. Second, the surface looks dull, gray, or patchy instead of glossy black. Third, you spot rust, which means the protective barrier has failed completely. If you see rust, scrub it off with a wire brush or steel wool, wash with soapy water, dry thoroughly, and apply a fresh seasoning cycle before your next cook. Catching these signs early prevents corrosion from taking hold.