 how-to
How to Pack a Camping Kitchen for Beginners
Table of Contents
- What You'll Need Before Packing
- Best Cookware for Open Fire Cooking
- How to Organize Camp Kitchen Gear
- Step-by-Step Packing Process
- Budget-Friendly DIY Kitchen Hacks
- Common Mistakes to Avoid
- Post-Trip Maintenance and Cleanup
- Frequently Asked Questions
Last Updated: September 28, 2026
What You'll Need Before Packing
Most first-time campers overpack, bringing every utensil and "just in case" item, then wonder why their pack weighs 40 pounds. Learning how to pack a camping kitchen for beginners requires understanding what gear actually matters.
A solid camping kitchen needs three categories: cookware that handles heat, storage that keeps food safe, and cleanup supplies. Get these three right, and everything else becomes optional.
Essential Cookware and Utensils
Cookware must work over open flame, survive rough handling, and require minimal field care.
A cast iron skillet is non-negotiable; it heats fast, holds heat, and works on any source. The 10" Shallow Skillet from Browns Outpost ($32.99) handles bacon and eggs at dawn, seared meat at dinner, covering 80% of camp meals.

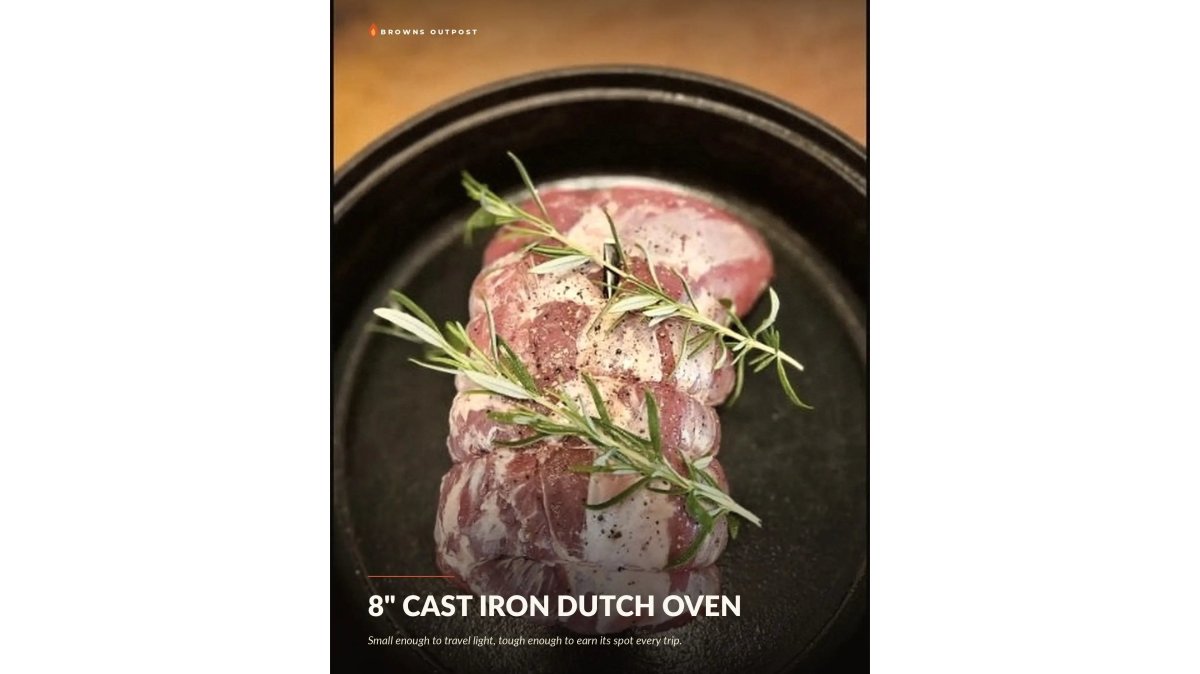
Add a dutch oven if you're planning stews, bread, or slow-cooked meals. The 8" Dutch Oven with Lid ($45.99) is sized for two people and weighs less than larger versions, making it packable without sacrificing real cooking capacity.
For utensils, keep it minimal: one spatula, one set of tongs, one large spoon, one knife, and one small cutting board. Avoid multi-tools; a dedicated spatula outperforms a folding camp utensil every time.
Food Storage and Water Management
Food storage determines whether your trip stays clean or attracts wildlife. Cold food stays safe; warm food spoils.
A cooler is essential. Pack it with ice at the start and store perishables (meat, dairy, eggs) in the coldest section, organized by temperature zones.
Food storage containers prevent spills and keep dry goods protected. Airtight plastic containers stack neatly and protect flour, sugar, pasta, and grains from moisture. Label everything. You'll thank yourself at 6 a.m. when you're half-asleep and need to find the coffee.
Water management is overlooked by beginners. Pack a water jug (at least 5 liters) for cooking and drinking. A collapsible sink makes dishwashing easier without requiring a dedicated basin.
For water filtration from streams or lakes, test a gravity filter before your trip. According to Parks Canada, proper water management is crucial for preventing illness while enjoying the outdoors (Parks Canada's safety guidelines).
Cleanup and Safety Supplies
Pack biodegradable soap (breaks down naturally and won't harm water sources), a quick-dry towel, and dish drying racks or a clean surface for air drying.
For trash, bring bags that seal. Never leave food scraps at camp (The "Bare" Campsite Program). Pack it out completely. This prevents attracting bears and other wildlife.
Fire safety is critical: keep water or sand nearby, never leave fire unattended, and know your campsite's fire regulations. Before lighting any fire, consult the local fire ban status, often available through provincial or municipal websites.
Best Cookware for Open Fire Cooking
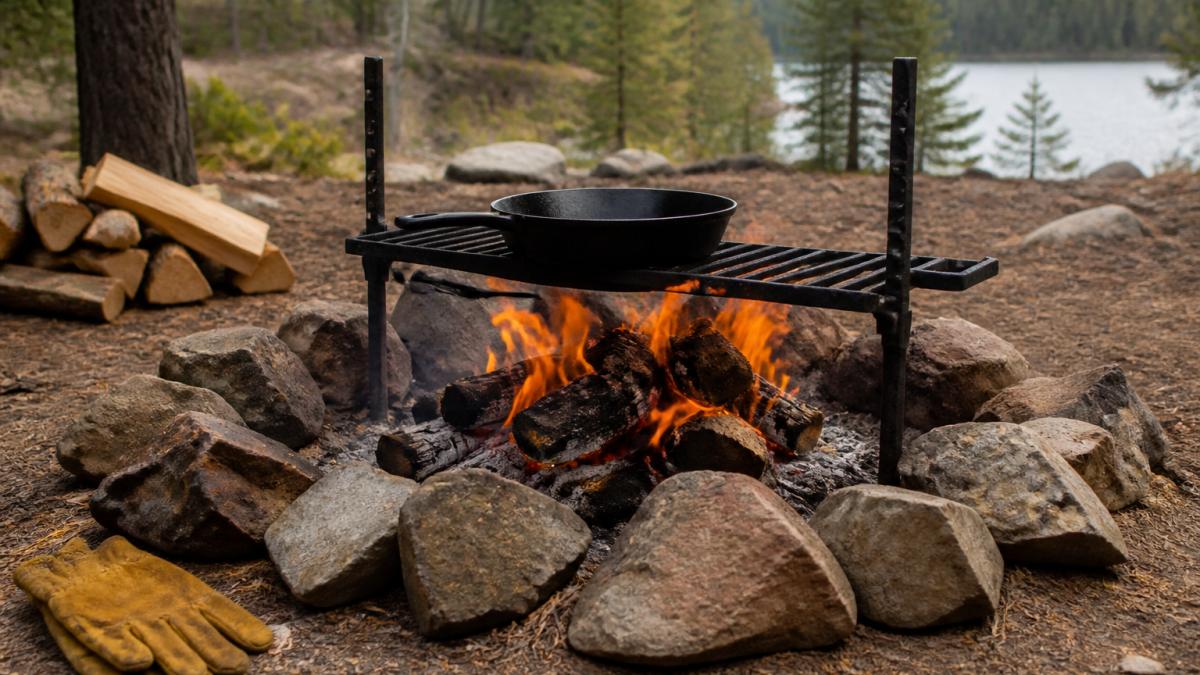
Open fire cooking differs from stovetop cooking; heat is intense and uneven, so cookware must handle that reality.
Cast Iron: The Workhorse
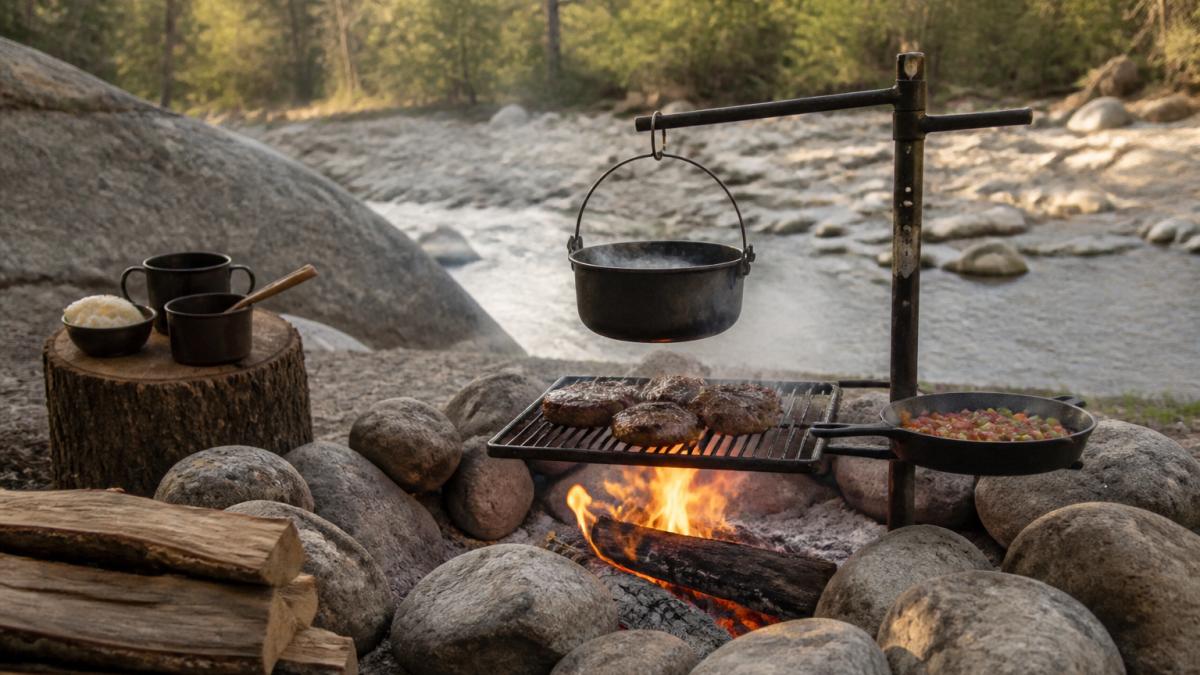
Cast iron is the gold standard for open fire cooking: it distributes heat evenly, develops seasoning that improves with use, handles direct flame without damage, and lasts decades with basic care.
Browns Outpost cast iron is built to handle drops and coals; durability matters when you're far from a replacement.
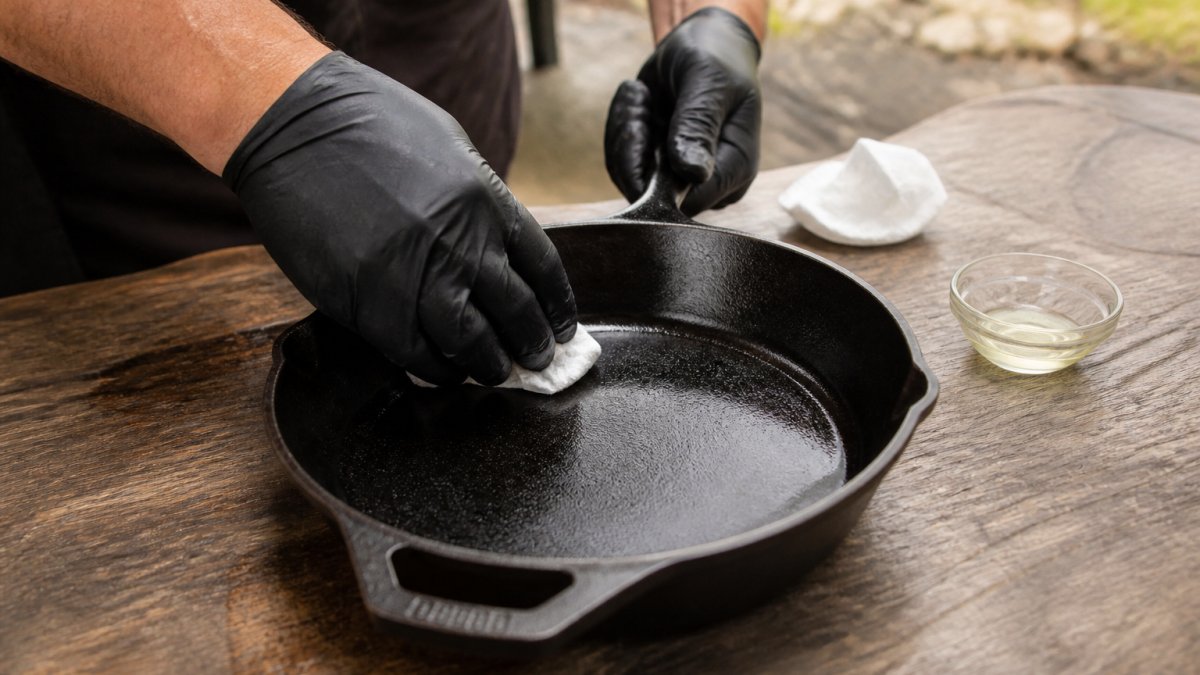
Care is straightforward: hand-wash with hot water only, dry immediately on heat, and apply a thin coat of neutral oil after each use.
Camp Stove vs. Open Flame
Camp stoves use fuel canisters for precise temperature control but are heavier to pack. Open flame cooking is slower but easier for beginners; you don't need fuel canisters, just what's available at your campsite.
How to Organize Camp Kitchen Gear
Organization determines whether your camp kitchen runs smoothly, and knowing how to pack a camping kitchen for beginners prevents items from shifting, cookware from breaking, and wasted time searching for gear.
Weight and Volume Distribution
Pack heavy items (cast iron, dutch oven) at the bottom, then layer lighter items on top. This keeps your vehicle balanced and prevents fragile items from crushing.

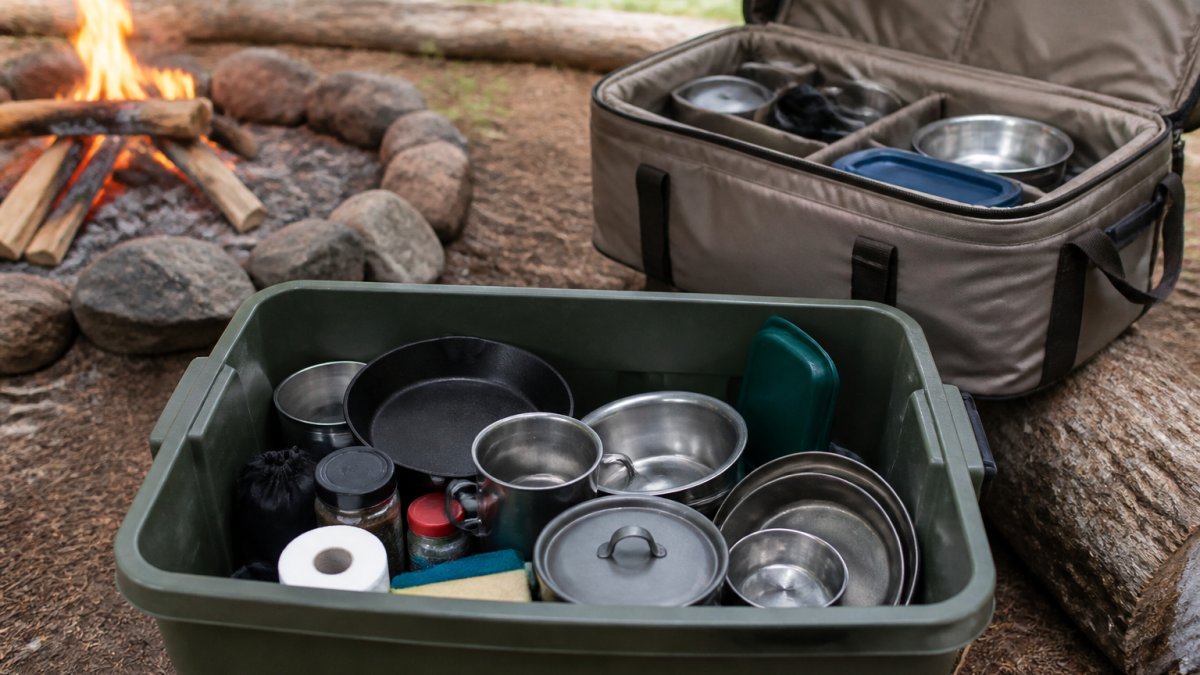
Use vertical space: stack containers, nest smaller pans inside larger ones, and bundle utensils in a cloth bag.
Use a dedicated kitchen box (approximately 45 cm x 30 cm x 25 cm) to hold all cooking gear separately, preventing cross-contamination and saving search time.
Vehicle Packing Strategy for Accessibility
Pack in reverse order of use: items needed first go in last. For car camping, pack the cooler and kitchen box together for easy unloading. For hiking from a parking area, use a day bag for essentials only.
Creating a Camping Kitchen Checklist
Use a checklist to prevent forgetting essentials. Customize based on menu and trip length: a three-day trip needs less water than a five-day trip; a group of six needs larger containers than a couple.
Packing Order: Step-by-Step
Step 1: Inventory and sort by category. Lay out everything and group by type. Check against your checklist to prevent surprises at the campsite.
Step 2: Pack heavy items first. Place cast iron and dutch oven at the bottom, wrapped in cloth to prevent shifting and protect other items.
Step 3: Protect fragile cookware. Layer cloth between cast iron pieces, bundle utensils, place cutting boards flat, and pack perishables in sealed containers.
Step 4: Organize for easy access. Pack items you'll use first on top. Use smaller bags within your larger pack to keep the kitchen organized.
Step-by-Step Packing Process
Packing order matters. Do it wrong, and fragile items break or heavy items shift during transport.
Step 1: Inventory and Sort by Category
Lay out everything on a table. Group items: cookware, utensils, storage, water, cleanup. Count what you have. Check against your checklist.
This step prevents surprises at the campsite. You'll know exactly what you're bringing and spot any gaps before you leave.
Step 2: Pack Heavy Items First
Place cast iron and the dutch oven at the bottom of your cooler or pack. These items are dense and won't compress. They form a stable base for everything else.
Wrap them in cloth or towels to protect them from shifting. This also protects other items from being damaged by sharp edges.
Step 3: Protect Fragile Cookware
Layer cloth or foam between cast iron pieces. Wrap utensils in a bundle so they don't scatter. Place cutting boards flat, not standing up (they'll crack under pressure).
For the cooler, pack perishables in sealed containers. This prevents cross-contamination and keeps ice from melting into food.
Step 4: Organize for Easy Access
Pack items you'll use first on top. Coffee supplies go near the top if you brew first thing. Dinner cookware goes lower since you'll unpack other items before cooking.
Use smaller bags or containers within your larger pack. This keeps the kitchen organized and lets you find things without unpacking everything.
Budget-Friendly DIY Kitchen Hacks
Many beginners spend a lot on branded camp cookware when household items and repurposing can cut costs. Understand what each item does, then find cheaper alternatives.
Repurposing Household Items
Cast iron you already own. Bring cast iron from home or buy from a thrift store instead of specialty versions. Seasoning and care are identical.
Mason jars for storage. Bring mason jars from home to store dry goods. They seal well, stack neatly, and cost $0 (reusing what you own).
Kitchen towels instead of camp towels. Old kitchen towels work as well as expensive microfibre versions. They dry slower but cost $0 (reusing what you own).
Cloth bags for utensils. Use an old pillowcase or canvas bag to bundle utensils, preventing scattering and protecting other items. Cost: $0 (reusing what you own).
Aluminum foil for cooking and containment. Wrap food for cooking over coals, use as a baking tray, create a windscreen to reduce fuel use by 15-20%, or line your cooler to extend ice life. Cost: $2-4 per roll.
Plastic containers from takeout. Reuse takeout containers for food storage.
Strategic Substitutions That Save Money
Collapsible sink alternative. Bring a large plastic bowl from home or use a large ziplock bag for dishwashing. Cost: $0-2.
When to Invest vs. When to Repurpose
Invest in items affecting safety and food quality: a reliable cooler, sharp knife, and quality cast iron. Repurpose or buy budget versions of utensils, towels, storage containers, and water vessels. A thrift store skillet cooks identically to a specialty version. Start cheap, learn what you use, then upgrade if needed.
Cost Comparison: Budget vs. Branded Setup
Both cook the same meal. Start with a budget setup, use it for 2-3 trips, then upgrade based on what you actually need.
Common Mistakes to Avoid
Most beginners make the same packing errors. Learn from them without repeating them.
Post-Trip Maintenance and Cleanup
Your cast iron needs care after camping to prevent rust and maintain seasoning.
Frequently Asked Questions
What should I pack for my camping kitchen?
Start with a camping kitchen checklist that includes cast iron cookware (skillet, Dutch oven), cooking utensils (spatula, tongs), a camp stove, food storage containers, a cooler with ice, water jug, biodegradable soap, dish drying rack. Add personal items like a coffee mug and cutlery. Prioritize items that serve multiple purposes to save space and weight.
How do I pack a camping kitchen without overpacking?
Use the camping kitchen checklist to identify true essentials only. Choose dual-purpose gear, like cast iron that works over fire and on a stovetop. Pack items in order of use: heavy cookware on the bottom, daily-use items in the middle, and cleanup supplies on top. Consider collapsible containers for food storage and utensil organizers to maximize space efficiency.
What type of cookware is best for open-fire camping?
Cast iron is the best cookware for open fire cooking because it heats evenly, retains heat well, and becomes more seasoned with use. A shallow skillet works for fast breakfasts and searing, while a Dutch oven handles slow-cooked meals and even bread baking. Cast iron is durable, lasts a lifetime with proper care, and works equally well on a home stovetop after your trip.
How do I store food safely while camping?
Use a cooler with ice to keep perishables below 4°C. Store raw meat on the lowest shelf, away from ready-to-eat foods. Keep dry goods in sealed food storage containers to prevent moisture and pest access. Use a bear-proof storage container or hang food in a tree if camping in bear country. Store water in a clean jug and filter it if needed. Check local regulations for specific food storage requirements.